

Managing Clients
If a platform is used by several parties whose data is to be managed separately, a separate client is set up for each party. This ensures that the data of each party remains isolated from the others’.
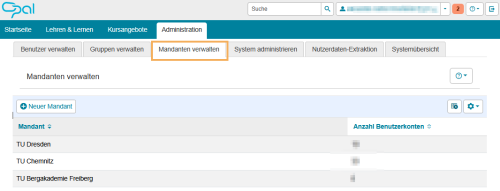
As a system administrator, you can use the ‘Manage Clients’ tab to get a complete overview of all the clients on the platform.
Client Overview
Once the tab has been opened, a table appears listing all existing clients on the platform, along with the number of accounts held by each client. Further columns can be shown or hidden individually via the table configuration.
Creating new clients
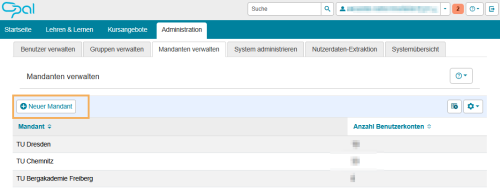
To add a new client, click on the ‘Create new client’ button above the table.
This opens the ‘New Client’ dialogue box. Enter the name of the new client in the text field and confirm your entry by clicking the ‘Create Client’ button. If you wish to create several clients at once, a batch function is also available: by entering names separated by commas, you can create several clients simultaneously.
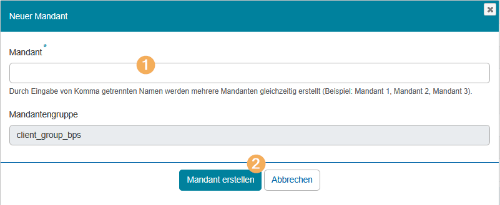
Several clients can be grouped into client groups. When a new client is created, it is automatically assigned to the client group to which the person currently performing the action belongs. If no client groups have yet been created, the field for specifying the client group will not appear in the dialogue box for creating new clients.