Wikisyntax

Mithilfe der umfangreichen Wiki-Syntax und zusätzlicher Schaltflächen in der Editieransicht einer Seite können Sie Artikel individuell gestalten. Beispielsweise können Sie Textelemente fett oder kursiv setzen sowie Überschriften, Links oder Formeln hinzufügen.
Übersicht der Wikisyntax und zusätzlichen Schaltflächen ...
Durch bestimmte Tastaturzeichen, wie Anführungszeichen, Apostrophe, Gleichheitszeichen oder Sterne, können Sie den Text des Wikiartikels formatieren und gestalten. Alternativ stehen Ihnen dafür auch die üblichen Formatschaltflächen im oberen Bereich der Editoransicht des Artikels zur Verfügung.
Formatierungsoptionen mit Schaltflächen oder per Editoreingabe
Formatschaltflächen | Eingabe mit Tastaturzeichen | Erläuterung und Darstellung im Artikel |
|---|---|---|
| '''Fett"' ''Kursiv'' | Fetter Text Kursiver Text |
| ==Überschrift Text== | Hiermit kennzeichnen Sie Überschriften (Level 2). |
| * Unsortiert |
|
| <math><Formel></math> (z.B. <math>c = a + b</math>) alternative Möglichkeiten: $$<Formel>$$ (z.B $$c = a + b$$) \(<Formel>\)
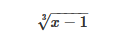
| Über dieses Symbol können Sie mathematische Formeln eingeben, sodass aus folgendem Code
<math>\sqrt[3]{x-1}</math> diese Formel entsteht:
Beim Klick auf den Button Formeln werden standardmäßig zentriert angezeigt. Soll die Formel im Fließtext stehen, verwenden Sie bitte das Schema \(<Formel>\).
|
| [[Index]] | Fügen Sie über diesen Button einen Link zu einer internen Seite ein: Existiert bereits ein Artikel mit dem Titel (bspw. Index), können Sie vom aktuell geöffneten Artikel auf diesen verweisen. Schreiben Sie dazu doppelte eckige Klammern um den Titel des Artikels, auf den verwiesen werden soll. Alternativ können Sie den Button Link einfügen nutzen, um sich eine Liste der vorhandenen Artikel anzeigen zu lassen. Mit Klick auf den Titel eines Artikels in dieser Liste wird automatisch ein Link in den Artikel eingefügt. Wollen Sie einen alternativen Linktext einfügen, der anstelle der Seitenbezeichnung verwendet werden soll, dann geben Sie nach dem eigentlichen Linktext ein Verkettungszeichen (|) und anschließend den anzuzeigenden Text ein, bspw. [[index|Startseite]]. Weitere Formatierungsoptionen für Links enthält die nachfolgende Übersicht. |
| [http://www.bps-system.de/ Linktext] | Fügen Sie über diesen Button einen Link zu einer externen Seite ein. Es wird zunächst ein Beispielinhalt eingefügt. Passen Sie bei diesem die URL und den alternativen Linktext an. |
| <nowiki>Hier den unformatierten Text eingeben</nowiki> | Über diesen Button können Sie unformatierten Text anzeigen lassen. |
| ---- | Fügen Sie so eine horizontale Trennlinie ein. |
|
| Öffnet die Upload-Funktion. Sie können dort Dateien per Drag-and-Drop von Ihrem Rechner in das Wiki hochladen. |
|
| Öffnet eine Liste der bereits im Wiki bestehenden Artikel. Mit Klick auf einen Eintrag wird dieser Artikel als Link in den aktuellen Artikel eingefügt. Links werden automatisch unterstrichen dargestellt. |
|
| Öffnet eine Liste der bereits im Wiki hochgeladenen Dateien. Mit Klick auf einen Eintrag wird diese Datei in den Artikel eingefügt. |
|
| Öffnet eine Liste der bereits im Wiki angelegten Kategorien. Mit Klick auf einen Eintrag wird diese Kategorie dem aktuellen Artikel zugeordnet. |

Weitere Formatierungen per Editoreingabe
Angabe zum Ersteller | ~~~ ~~~~ | Mit der Angabe von drei Tilde-Zeichen wird der Name des Seitenerstellers an diese Stelle gesetzt. Bei vier Tilde-Zeichen erscheint zusätzlich ein Zeitstempel.
|
|
|---|---|---|---|
Unterstreichen | <u>unterstreichen</u> | So können Sie Wörter unterstreichen. |
|
Textfarbe | <span style="color:#006400"> Text</span> | Die Textfarbe ändern. Eine einfache Farbtabelle finden Sie unter https://de.wikipedia.org/wiki/Hilfe:Farbtabelle. | |
Zeilenumbruch | </br> | Nur einen Zeilenumbruch, aber keinen keinen neuen Absatz erzeugen. Durch eine leere Zeile wird ein neuer Absatz (mit größerem Zeilenabstand) erzeugt. | |
Rechtsbündiger Text | <div align="right">Rechtsbündiger Text</div> | Einen Text rechtsbündig ausgerichten. | |
Linksbündiger Text | <div align="left">Linksbündiger Text</div> | Einen Text linksbündig ausgerichten. | |
Zentrierter Text | <div align="center">Zentrierter Text</div> | Einen Text zentriert ausgerichten. | |
Hochgestellt | Text<sup>hochgestellt</sup> | Einen Text hoch- und tiefstellen. | |
Tiefgestellt | Text<sub>tiefgestellt</sub> | ||
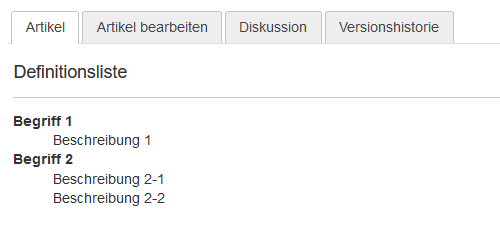
Definitionsliste | ;Begriff 1 : Beschreibung 1 ;Begriff 2 : Beschreibung 2-1 : Beschreibung 2-2 | Eine Liste an Begriffen angeben. |
|
Einrückung ohne Auflistung | :Einfache Einrückung ::Doppelte Einrückung :::::Mehrfache Einrückung | Durch ":" erhält man eine Einrückung des nachfolgenden Textes.
|
|
Aufzählung | *eins *zwei **eins-zwei **zwei-zwei *drei | So können Sie eine einfache unnummerierte Liste, |
|
Aufzählung mit Zahlen | #eins #zwei ##eins-zwei ##zwei-zwei #drei | oder eine nummerierte Liste erzeugen. |
|
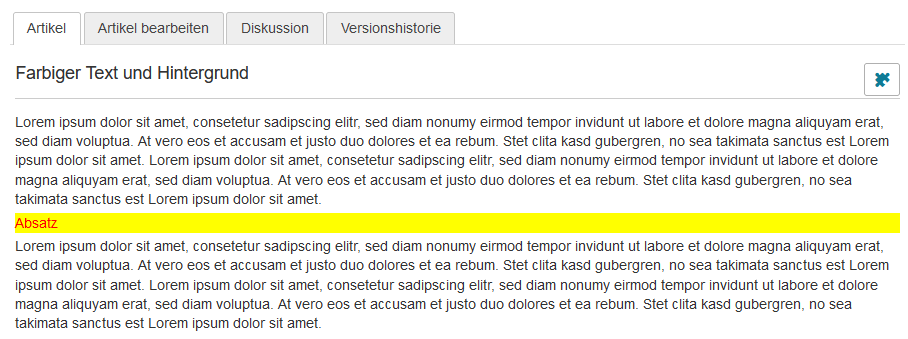
Farbiger Absatz | <p style="color:red;"> Das ist ein ganzer Absatz </p> | So können Sie einen farbigen Textabsatz erzeugen. |
|
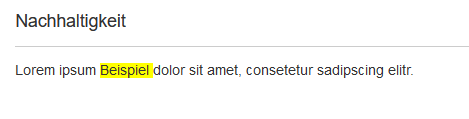
Hintergrund für ein oder wenige Wörter | <p>Lorem ipsum <span style="background-color: yellow;">Beispiel </span> dolor sit amet, consetetur sadipscing elitr.</p> | Passen Sie so die Hintergrundfarbe an. |
|
Farbiger Text + Hintergrund eines Absatzes | <p style="color:red;background-color:yellow;">Absatz </p> | Nutzen Sie diese Angaben, um einen Text und dessen Hintergrund farbig zu gestalten. |
|


Formatierung von Tabellen
Tabelle einfügen | {| | Um eine Tabelle im Artikel zu erstellen, nutzen Sie Klammern und Trennstriche.
| ||||
|---|---|---|---|---|---|---|
Rahmen um Tabelle | {| border ="1" |
| ||||
Tabelle (Spaltenbreite (Prozent) | {| border = "1" | Möglich durch eine Prozentangabe; Sobald Zeile mit ! eingeleitet wird, wird diese automatisch fett und zentriert. | ||||
Tabelle (Spaltenbreite (Pixel) | {| border = "1" | Ebenfalls durch die Angabe von Pixelwerten möglich; Sobald Zeile mit ! eingeleitet wird, wird diese automatisch fett und zentriert. |
Beispiele der angegebenen Tabellenformatierungen

Formatierungsoptionen für Bilder und Links
Interner Link | [[Wiki Seite]] | Links werden automatisch unterstrichen dargestellt.
|
|---|---|---|
Externer Link | [[https://www.abc.de|abc]] | Links werden automatisch unterstrichen dargestellt. |
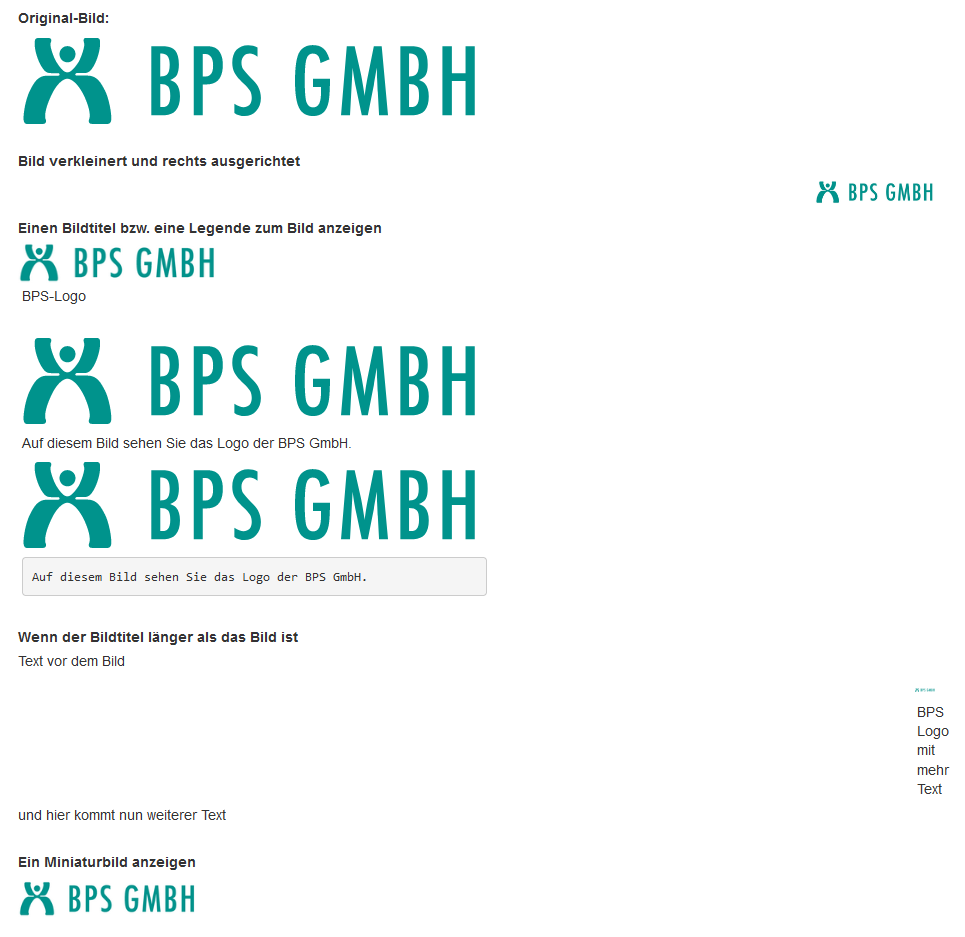
Bildlegende | [[Image:BPS_Logo.png|BPS-Logo|200px]] [[Image:BPS_Logo.png||Auf diesem Bild sehen Sie das Logo der BPS GmbH.]] [[Image:BPS_Logo.png|| Auf diesem Bild sehen Sie das Logo der BPS GmbH.]] | Tragen Sie nach dem Verkettungszeichen (Trennstrich) den gewünschten Text ein. Wenn Sie den Text mit einem Leerzeichen beginnen, wird er mit einem Rahmen und größerem Abstand zum Bild angezeigt. |
Text vor dem Bild <span>[[Image:BPS_Logo.png|right|20px|BPS Logo mit mehr Text]]</span> <div style="clear: both;"></div> und hier kommt nun weiterer Text | Überschreitet der Legendentext die Bildbreite, wird er umgebrochen. Dabei kann es zu Überlagerungen kommen. Mit den im Beispiel genannten HTML-Ergänzungen span und div, können Sie dies umgehen. | |
Miniaturbild (Thumbnails) (Vorschaubild eines Bildes) | [[Image:BPS.png|right|thumb]] [[Image:BPS.png|right|30px|thumb]] | Ein Miniaturbild wird ausgegeben mit der Angabe thumb. In der Artikelansicht sieht der Nutzer ein verkleinertes Bild. |
Ausrichtung | [[Image:BPS.png|right]] | Tragen Sie nach dem Verkettungszeichen (Trennstrich) den Zusatz "left" oder "right" ein. |
Bildgröße | [[Image:BPS.png|120px]] | Tragen Sie nach dem Verkettungszeichen (Trennstrich) die gewünschte Größe ein. |
Mehrere Formatierungen | [[Image:BPS.png|right|30px|thumb|Das ist das BPS-Logo.]] | Mehrere Formatierungen trennen Sie jeweils mit einem Verkettungszeichen (Trennstrich). |

Beispiele der angegebenen Bildformatierungen
With the help of the extensive wiki syntax and additional buttons in the page's editing mode, it is possible to customise articles. For example, you can set text elements to bold or italic and add headers, links, or formulas.

Overview of the wiki syntax and additional buttons ...
Certain keyboard characters, such as quotes, apostrophes, equal signs, or asterisks, allow you to format the text of the wiki article. Alternatively, you can also use the usual formatting buttons, which become available when switching to the editing mode of the article.
Formatting with buttons or input fields ...
Formatting buttons | Input with formatting characters | Explanation including an example in the article |
|---|---|---|
| '''bold" ''italic'' | bold text italic text |
| ==header text== | This is how you can mark headers (level 2). |
| * unsorted |
|
| <math><formula></math> (e.g. <math>c = a + b</math>) alternatives: $$<formula>$$ (z.B $$c = a + b$$) \(<formula>\) | You can use this symbol to enter mathematical formulas so that the following code <math>\sqrt[3]{x-1}</math> results in this formula:
By clicking the Formulas are displayed centred by default. If you want the formula to be displayed in the running text, please use the scheme \(<formula>\).
|
| [[index]] | Use this button to embed a link to an internal page: If an article with this title (e.g. Index) exists already, you can refer to it from the currently opened article. Just put the title of the article to be referred to in square brackets. Alternatively, you can also use the button Insert link to display a list of existing articles. By clicking on the title of an article in this list, a link is automatically embedded in the article. If you wish to use an alternative link text instead of the page name, enter a pipe (|) after the actual link text and then the text to be displayed, e.g. [[index|Home page]]. Further formatting options for links are given in the overview below. |
| [http://www.bps-system.de/ link text] | Use this button to embed a link to an external page. A sample text will be inserted. Adjust its URL and alternative link text.
|
| <nowiki>enter the unformatted text here</nowiki> | With this button, you can display unformatted text. |
| ---- | This is how you add a horizontal separator. |
|
| This button will open the upload function. It allows you to upload files from your computer to the Wiki via drag-and-drop. |
|
| This button will open a list of all the articles within the Wiki. By clicking on an entry, this article will be inserted as a link in the current article. |
|
| This button will open a list of all the files uploaded to the Wiki. By clicking on an entry, this file will be inserted into the article. |
|
| This button will open a list of all Wiki categories. By clicking on an entry, this category will be added to the current article. |
Further formatting options with input fields ...
Information about the creator | ~~~ ~~~~ | Insert three tilde characters to display the name of the page creator in this position. You can also insert four tilde characters for a time stamp. |
|
|---|---|---|---|
Underline | <u>underline</u> | This is how you underline words. |
|
Text colour | <span style="color:#006400"> text</span> | This is how you change the text colour. You will find a simple colour table at https://en.wikipedia.org/wiki/Web_colors) | |
Line break | </br> | This is how to create a line break only. You do not create a new paragraph. A new paragraph (with larger line spacing) is created by an empty line. | |
Right-aligned text | <div align="right">right-aligned text</div> | Align text to right |
|
Left-aligned text | <div align="left">left-aligned text</div> | Align text to left |
|
Centered text | <div align="center">centered text</div> | Align text to center |
|
Superscript | text<sup>superscript</sup> | This is how to superscript a text. |
|
Subscript | text<sub>subscript</sub> | This is how to subscript a text. |
|
List of definitions | ;term 1 : definition 1 ;term 2 : definition 2-1 : definition 2-2 | To create a list of terms. |
|
Indentation without bullet list | :single indentation ::double indentation ::::: multiple indentation
| By entering the colon, the line can be indented according to the colons used. |
|
Bullet list without numbers | *one *two **one-two **two-two *three | This is how you create an unnumbered list. |
|
Bullet list with numbers | #one #two ##one-two ##two-two #three | This is how you create a numbered list. |
|
Coloured paragraph | <p style="color:red;"> This is a whole paragraph </p> | This is how you create a colored paragraph. |
|
Background for one or a few words | <span style="background-color: yellow;">example</span> | With this code you can adjust the background color. |
|
Coloured text + background of a paragraph | <p>Lorem ipsum <span style="background-color: yellow;">example </span> dolor sit amet, consetetur sadipscing elitr.</p> | Use this code to color text and its background.
|
|