To create a new appointment, proceed as follows:
Open the course element Calendar.
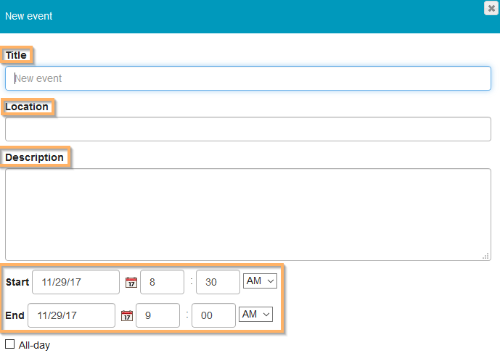
Double-click an area in the calendar. The window for creating a new appointment opens. Depending on where you click, some appointment information might be filled in automatically. | |
Enter a title and optionally a location and a description for the new appointment. Then check the data in the fields Start and End. In the case of an all-day appointment, select the checkbox next to All day below the fields start and end. This option should be enabled for all-day appointments. | |
If necessary, configure the desired repetition cycle and an end date for this cycle.
You can choose from the following options ...
| The appointment is never repeated and takes place only once on the specified date at the selected time. | | The appointment takes place every day at the same time. | | The appointment takes place every day from Monday to Friday, not including weekends. | | The appointment takes place every week on the same day at the same time. | | The appointment takes place every other week on the same day at the same time. | | The appointment takes place every month on the same day at the same time. | | The appointment takes place once a year in the same month, on the same day, and at the same time. |
WarningIn the case of a recurring appointment, you must enter a new date in the text field Until. Otherwise, only a single appointment will be created. | |
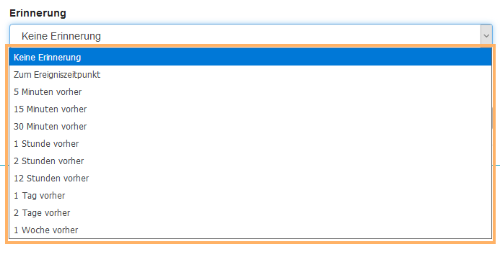
You can configure a reminder for the new appointment or recurring appointment. InformationHowever, the reminder for the appointment will only be sent by email if you have subscribed to the calendar. The email contains information about the appointment title, appointment data, and if indicated, the place of the appointment. The description will not be transmitted. | |
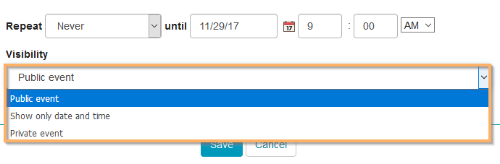
Now decide on the visibility of the appointment.
You have the following options ...
| The appointment will be visible to all participants and added to their calendar. | | Users with extended rights will still see all information about this appointment. Users without extended rights, however, will only see the date and time of this appointment in the calendar.
Example ...
| | The appointment is only visible to you personally. It is not synchronised in the calendars of other users. Only other users with extended rights may see such an appointment if it has been added to a course or group calendar. |
| |
Click on Save to complete the creation process.