Step-by-Step Create course

Last modified by Carina Enke on 11.01.2024

Create course

With the release of OPAL 11.1, the course creation is available in the new user interface. How to create courses in the old user interface is explained in the section Create courses in the old user interface below.

To create a course, proceed as follows:
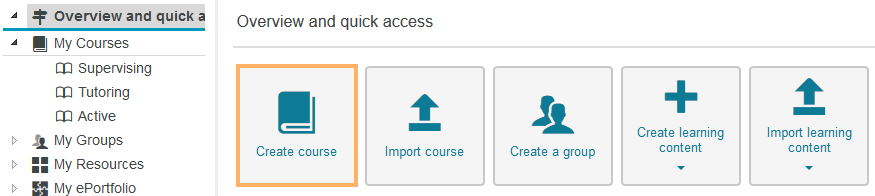
1

Open the tab Teach & Learn. In the left navigation area, click on the entry Overview and quick access. Here you will find the function box Create course.
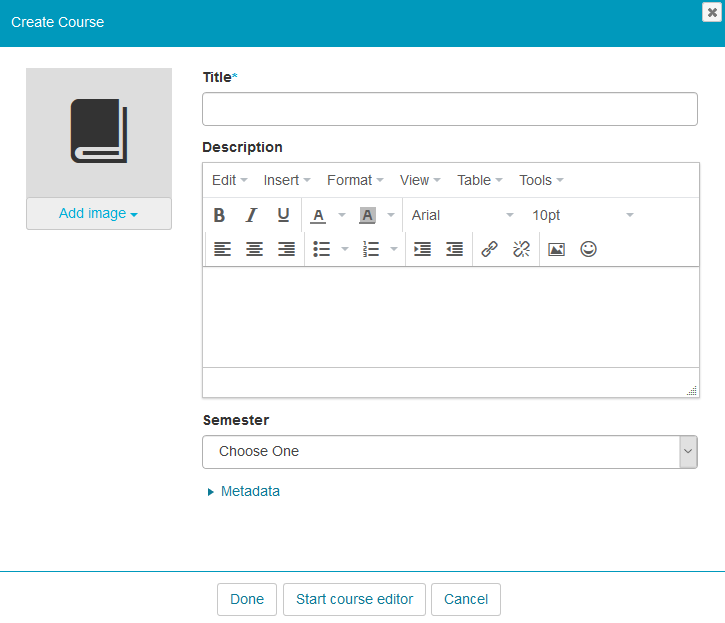
Alternative options ...

A button for creating courses and individual learning content can also be found after opening the menu items My courses and My resources.

Depending on the system configuration and user rights, this box is also available in the First steps portlet on the home page.

Lehren und Lernen - Kurs erstellen_en.png

2

In the Create course dialogue, you can now enter a title and description for your course. Optionally, you can also add an image and assign metadata or a semester.

Editor - Kurs erstellen Fenster_en.png

3

To complete the course creation, choose between the following options:

  • Done: This option creates the course with the settings configured and opens it in the course view.
  • Start course editor: This option creates the course with the settings configured and opens it in the course editor view. You can directly start filling the course with course elements.
  • Cancel: This option closes the dialogue. The course will not be created.