Learning ressource blog
 A blog is an electronic diary, whose individual entries are presented in chronological order, with the newest entry at the top. Entries may include information, images, and videos. New entries or changes to the blog can usually be subscribed to via RSS feed.
A blog learning resource can be referenced in a course using the eponymous course element Blog. However, it can also be accessed and edited individually without any course context.
Functions for users
If a blog learning resource has been publicly published, users can use the following functions:
Search and find learning content | Learning content that is publicly available can be found via the search function. For more information about the search and how to use it, refer to the help page Search and find content. | ||||||||||||
|---|---|---|---|---|---|---|---|---|---|---|---|---|---|
Rate and comment on posts | In the blog learning resource, you can see various posts, with the newest post at the top. The individual blog posts can be rated and provided with comments.
|
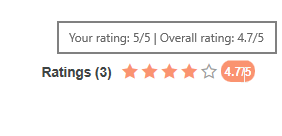
Rate post | Rate posts via the stars at the right edge of each post. To perform a rating, click on the number of stars you want to assign. You can change your rating at any time by repeating it. |
|
The current status of the rating is represented by both the coloured stars and the numbers in the circle. In addition, you will be shown a note indicating whether you have already given a rating for this post before. The status of the rating is colour-coded:
If you hover the mouse pointer over the number, your personal rating and the overall rating will be displayed. |
| |
Comment on post | You can also leave comments on each post. The comment function and the number of previously written comments can be found below each blog post.
|
|


![]()
Using this button, you can create a new blog entry.
How to do that? ...
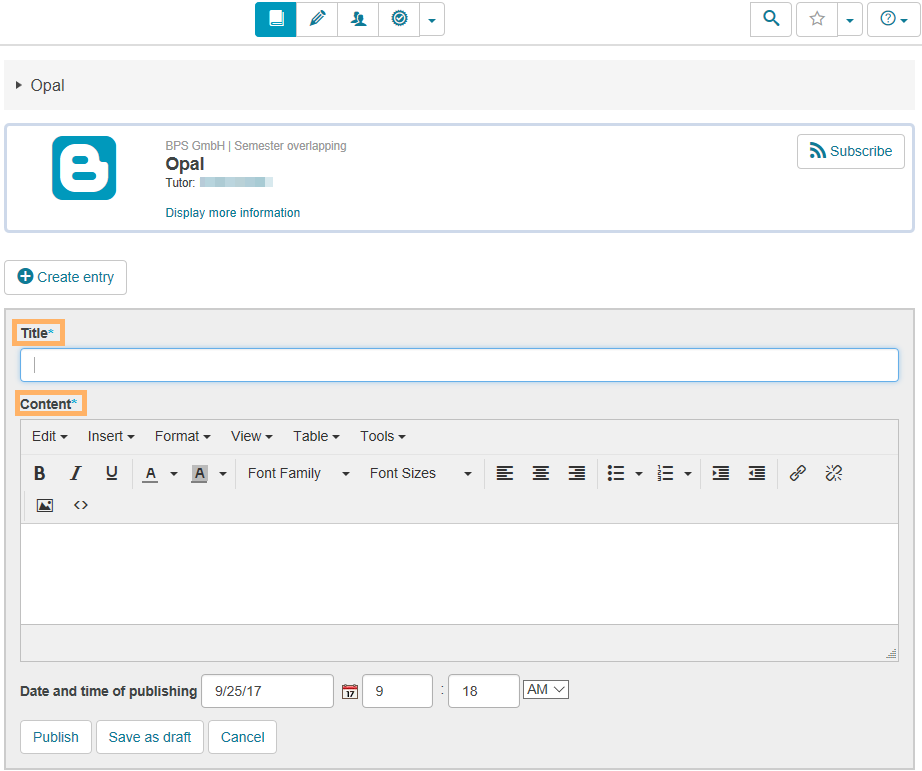
1 | Open the course element Blog. Click on the button Create entry. |
|
2 | Enter a title for the entry and add the desired content. You can also use the formatting options in the editor. |
|
3 | To finish off your content, you have several options: Save as draft: Select this button if the post is not yet finished. A post saved as a draft is only visible to the creator. In the post overview, it is greyed out. You can edit, publish, or delete your post at any time. Publish: Once your post is finished, it can be published. You can flexibly control the time at which the post will be visible to users.
|
|
4 | You can recognise the status of an entry by various icons and notes.
|
|


![]()
To be informed about new blog posts, users with access to the blog can copy an RSS link to the blog and paste it into their RSS reader.
How to do that? ...
To copy the RSS link, proceed as follows:
Further general information can be found here: RSS feed. |

![]()
Using this button, you can save your posts to your ePortfolio.
Functions for learning resource owners
After creating a new blog learning resource, you have access to the following functions:
| Using this button, you can create a new blog entry.
|
|---|
1 | Open the course element Blog. Click on the button Create entry. |
|
2 | Enter a title for the entry and add the desired content. You can also use the formatting options in the editor. |
|
3 | To finish off your content, you have several options: Save as draft: Select this button if the post is not yet finished. A post saved as a draft is only visible to the creator. In the post overview, it is greyed out. You can edit, publish, or delete your post at any time. Publish: Once your post is finished, it can be published. You can flexibly control the time at which the post will be visible to users.
|
|
4 | You can recognise the status of an entry by various icons and notes.
|
|
![]()
If you already have an RSS feed of a blog (from another website), you can reference that feed in the system. Select the button Link blog. Enter the URL of the feed in the field Feed URL and confirm your entries with Save. The external blog will then be available, and its content will be displayed in the blog learning resource.
Additional functions for owners
In the single view of the opened learning resource, you have access to all functions available to users, all general learning content functions, and the following additional editing options:
| Edit blog entry |
| ||
| Delete blog entry |
|

|
|
