WebDAV
WebDAV stands for Web-based Distributed Authoring and Versioning. It is an open standard to transfer files online. The learning platform supports this protocol for selected user groups and thus enables an easy file transfer from your computer to folders on the learning platform.
Advantages of WebDAV
Without WebDAV, files can only be uploaded to the learning platform via conventional upload forms. You can either select each file individually or several zipped files at once. With WebDAV on the other hand, you can easily drag and drop individual files or even entire directories from your computer to the learning platform using the file manager of your operating system and keep them up-to-date.
Who can use WebDAV?
Only users with the following roles can use the function in the learning platform:
- Autorens
- Learning Resource managers
- Administrators
How can I use WebDAV?
Most operating systems already support WebDAV, and also various other application programmes (e.g. Adobe GoLive, Dreamweaver, InDesign) offer a WebDAV interface.
To access a folder of the learning platform via WebDAV, proceed as follows:
How to get your access data
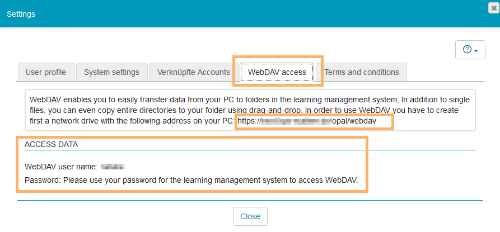
You need the following data from your user profile:
Address (URL) of the server resource | Use the URL as displayed in the information text on the WebDAV access tab. |
|---|---|
WebDAV user name | Use your learning platform user name (see My user profile) as displayed in the Access data section. |
Password | You can set your WebDAV password in your user profile under WebDAV access. If you have already set a password, use it to access WebDAV. |
Open your user profile:
Open user profile ...
Click on the tab Administration in the main menu and go to User administration. | 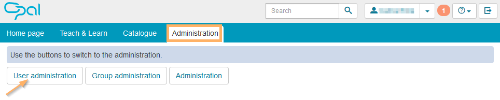 |
| In the left menu, click on the entry User search. |  |
A form will open in which information can be entered about the user account you want to find. Fill the desired input fields with values for which you want to perform a search. Start the search by clicking on Search. | 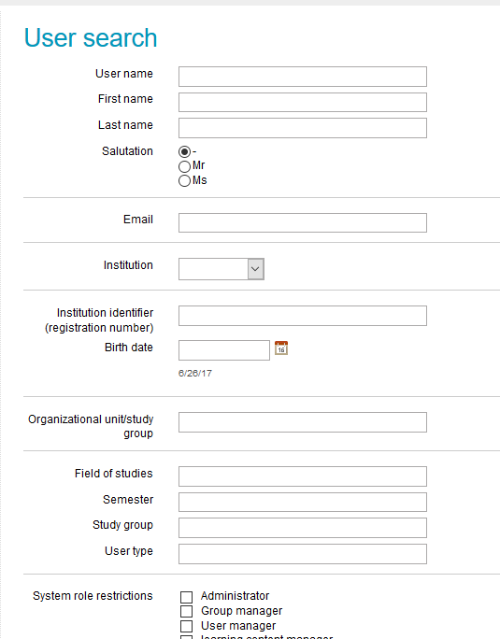 |
User profiles which fit the specified search criteria will be listed in a table. In the column Action, click on Edit at the end of the line to view the respective user's profile. If the action column is not visible, click on Adapt table to change the columns displayed in the view. | 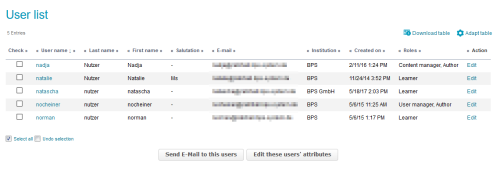 |
Private data stored in the system will, by default, be displayed in the tab User profile. Add or edit the user information and press save to confirm your changes. Depending on the institution/company, some labels might vary from the sample image. | 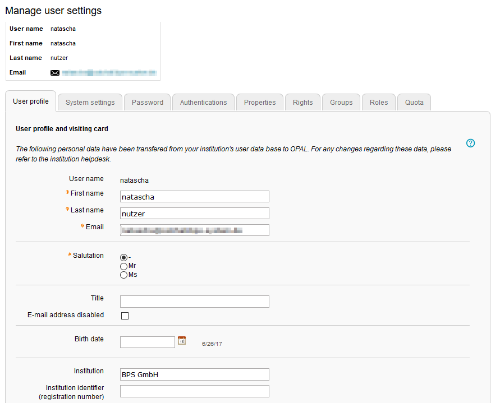 |
Set up connection
Now connect to your learning platform by using the specified URL, user name, and password.
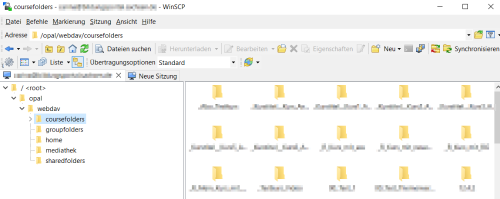
If you have successfully set up the connection, a new drive will open on your computer containing the following sub-directories:
coursefolders | Storage folders of all your courses. This usually only affects users with author rights. All other users will find an empty directory here. |
|---|---|
groupfolders | All groups of the type working group, learning group, and rights group in which you are enrolled and have access to the group tool of the type folder. For more information on groups and group tools, see the Group management help page. |
home | Your personal folder (private). For more information on this directory, see the Personal folder help page. |
resourcefolders | All of your learning resources of the type resource folder. This usually only affects users with author rights. All other users will find an empty directory here. For more information on this resource type, see the Resource folder help page. |
Operating system support
The use of WebDAV is directly supported by the following operating systems:
Operating system | Support | ||||||
|---|---|---|---|---|---|---|---|
Mac OS |
| ||||||
Linux | (Nautilus) | ||||||
Windows versions |
|
WebDAV access configuration with WinSCP
WinSCP is a freeware tool for the Microsoft Windows operating system, which can be used to set up WebDAV connections with ease. The following instructions only describe the WebDAV connection with the OPAL learning platform. General information on further functions can be found on the producer's website: https://winscp.net/eng/docs/start
Alternatively, you can use other tools. They usually work in a similar way.
1 | Download the WinSCP software to your computer. Go to https://winscp.net/eng/download.php for further instructions. Start the software with a double-click and follow the steps of the installation wizard. |
|
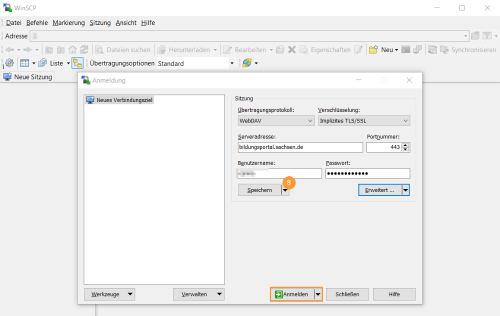
2 | Start WinSCP. When you open it for the first time, no connection is yet saved and the login window opens. Enter the necessary configuration data for the WebDAV connection as follows. | |
3 | Select WebDAV as the transfer protocol and set the encryption. |
|
4 | You can find the server address to be entered in your user profile of the learning platform. | |
5 | Enter your learning platform user name, as it was seen in the OPAL user profile under WebDAV, in the field User name. | |
6 | Enter your login password for the learning platform in the Password field. If stored, it is automatically used to log in via the WebDAV service and does not have to be entered manually each time you want to log in. Alternatively, you can leave the field blank. In this case, you will be asked to enter the password each time you log in. Only then is the connection created. | |
7 | Click on the button Advanced. This opens another window in which you complete the directory path to OPAL with the entry "/opal/webdav" under remote directory. Confirm your entry by clicking on the OK button. The window closes and you see the connection window again.
|
|
8 | Save the details of your connection here and then select the Log in button. |
|
9 | Another window with the file structure of your web space opens. The configuration is now complete. You can use the WebDAV connection to easily transfer files from your computer to the learning platform folders. |
|
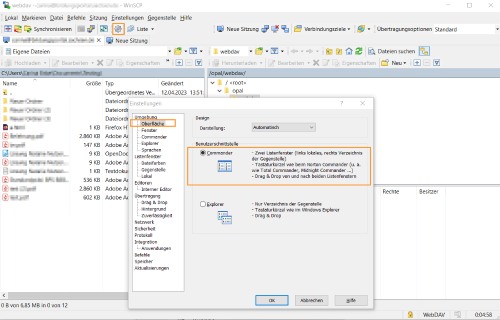
10 | You can change the appearance of the interface with the help of various setting options. With the Commander interface setting, for example, the local directory and the OPAL directory can be displayed together. After changing this setting, restart WinSCP. |
|
11 | After starting, you will see both directories next to each other. |
|