Create Blog Entry
Last modified by Carina Enke on 15.01.2024
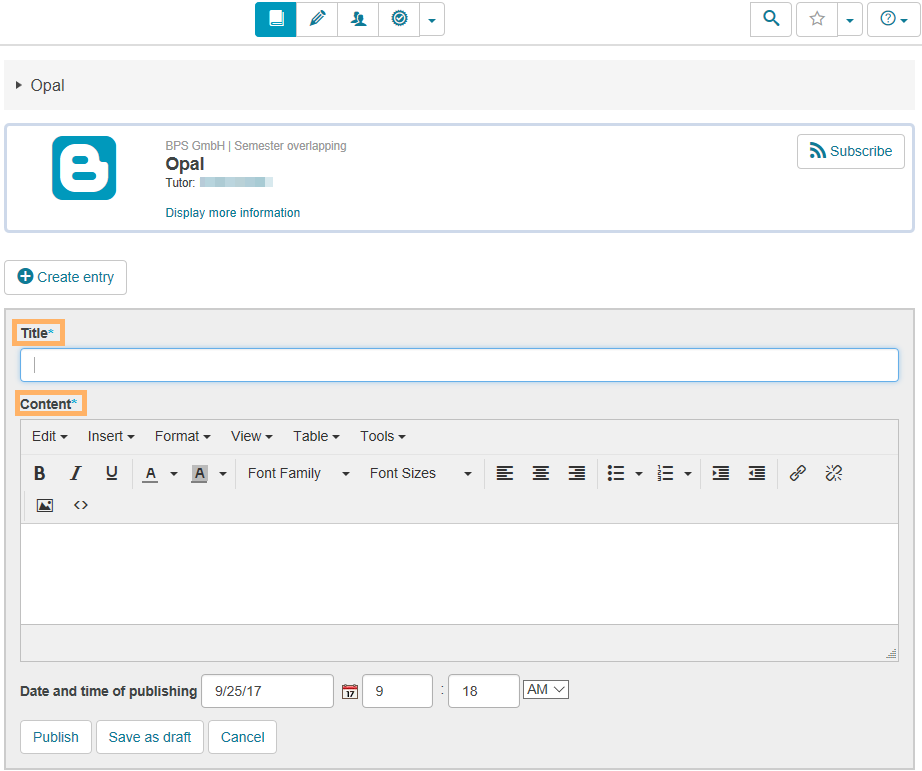
1 | Open the course element Blog. Click on the button Create entry. |
|
2 | Enter a title for the entry and add the desired content. You can also use the formatting options in the editor. |
|
3 | To finish off your content, you have several options: Save as draft: Select this button if the post is not yet finished. A post saved as a draft is only visible to the creator. In the post overview, it is greyed out. You can edit, publish, or delete your post at any time. Publish: Once your post is finished, it can be published. You can flexibly control the time at which the post will be visible to users.
|
|
4 | You can recognise the status of an entry by various icons and notes.
|
|


