Create Blog Entry

Last modified by Carina Enke on 15.01.2024

1

Open the course element Blog.

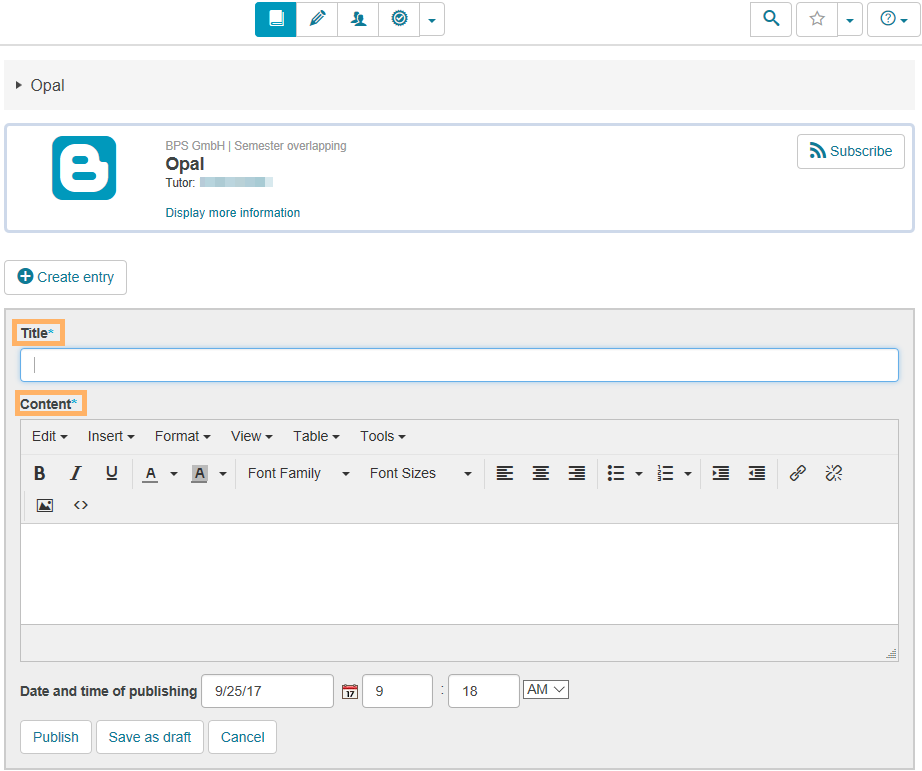
Click on the button Create entry.

The function to subscribe to a blog is only available in the course context.

Kurseditor Blog Ansicht Eintrag erstellen_en.png

2

Enter a title for the entry and add the desired content. You can also use the formatting options in the editor.

Kurseditor Blog Ansicht Eintrag erstellen2_en.png

3

To finish off your content, you have several options:

Save as draft: Select this button if the post is not yet finished. A post saved as a draft is only visible to the creator. In the post overview, it is greyed out. You can edit, publish, or delete your post at any time.

Publish: Once your post is finished, it can be published. You can flexibly control the time at which the post will be visible to users. 

  • Publish immediately: Select the button Publish. The post is automatically published, and you do not need to make any changes to the date field.
  • Publish later: Select Date and time of publishing and adjust both fields accordingly. Then click on Publish.

Kurseditor Blog Entwurf oder Veröffentlichen_en.png

4

You can recognise the status of an entry by various icons and notes.

  • Grey: Draft, text note above the content
  • Blue: Published post, visible to all users who can open the blog
  • Green: Publication planned, text note and time above the post content

Kurseditor Blog Farben_en.png


View of the old user interface

If you have created a blog entry with a picture in the new user interface and then open it in the old user interface, the post appears empty and the picture is not visible. However, the content of the post will become visible when clicking on the link "Read More".

Why is this? ...
In the old user interface, there were two different text fields, i.e. Description and Contentwhen creating a new blog entry. In the new user interface, in contrast, there is only the content field. This field is equivalent to the content field of the old user interface. If you create a post in the new user interface, both text and picture are thus referenced in the content field. This field, however, will only become visible in the old user interface if you click the button "Read More".