Assignment of Dates
![]() The course element Assignment of dates allows authors to create lists of dates, which can be made available to learners to sign in. Such lists can, for example, be used to assign dates for presentations or office hours.
The course element Assignment of dates allows authors to create lists of dates, which can be made available to learners to sign in. Such lists can, for example, be used to assign dates for presentations or office hours.
Usage: Learners' View
Overview
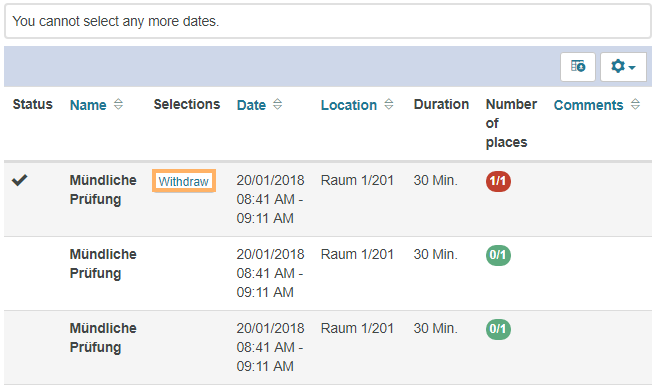
The course element Assignment of dates gives an overview of all the course dates open to learners for registration. Next to the name of the date, you will also be shown information about the time, location, duration and available number of places. In the example, dates are assigned for an oral exam. The colour of the number of places indicates whether there are still places available so that learners can enrol for their desired date. If there are still open places for this date, the icon will be highlighted in green. If all places have been filled for this date, the icon’s colour will change to red. In the example, the dates have the following status:
|
|

Functions for users
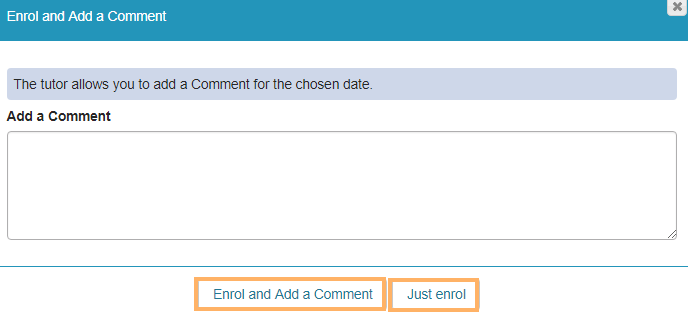
| Select a date | With this option, you can select and register for a date. How to do that?
| ||||
| Withdraw | You may withdraw from a date at any time and select a new one. How to do that?
| ||||
| Download table | Export table content as a file. The file format you have selected within your System settings will be used as the default format.
| |||||
| Adjust table | Select the columns to be displayed in the table. |


Configuration: Authors' View
In the course editor
The following functions are available to you in the course editor:
Add course element | Click to open instructions on how to add a course element ...
| ||||||||||||||||||||||||||||||||||||||||||||||||||||||||||||||||||||||
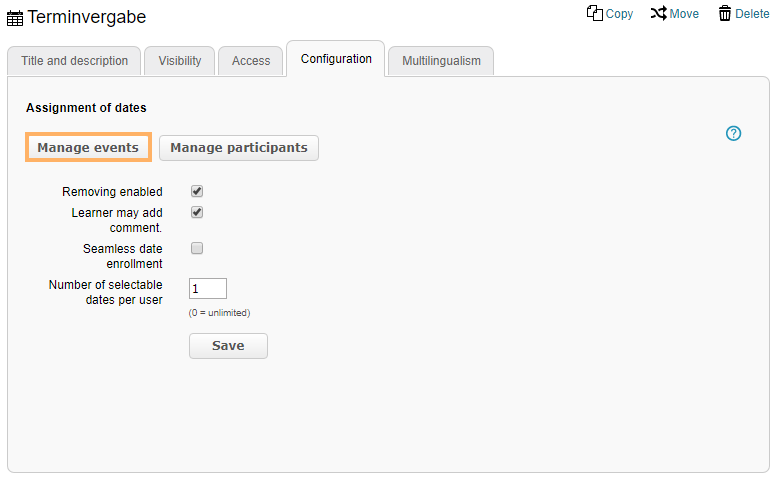
General configuration settings | In the course editor, you will see the following configuration tabs for a course element Assignment of dates :
| ||||||||||||||||||||||||||||||||||||||||||||||||||||||||||||||||||||||
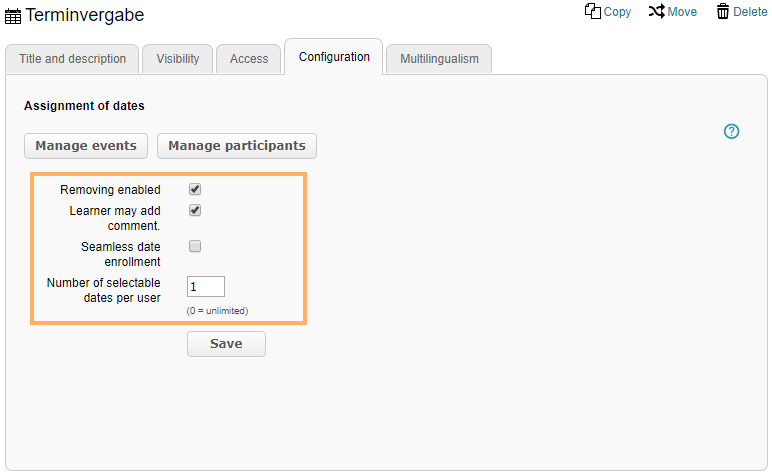
Special configuration settings | Configure the course element ...
|


In the course view
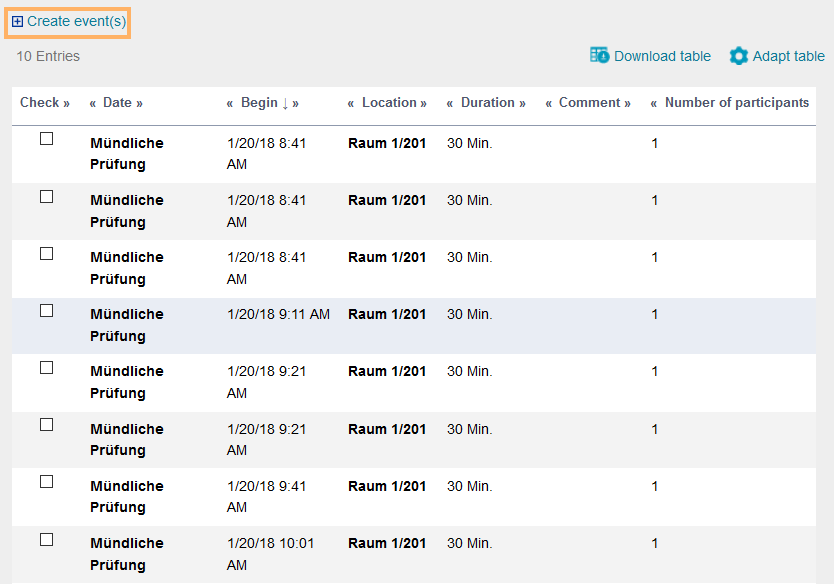
Apart from the options described in the section Functions for users , course authors can use the following functions in the course view:
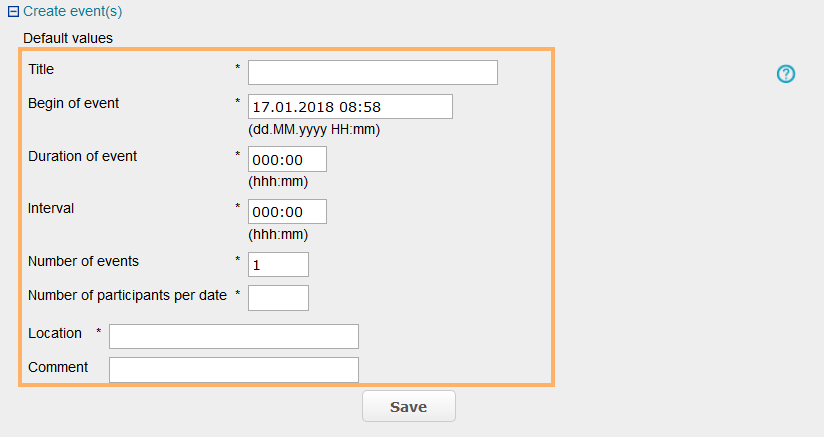
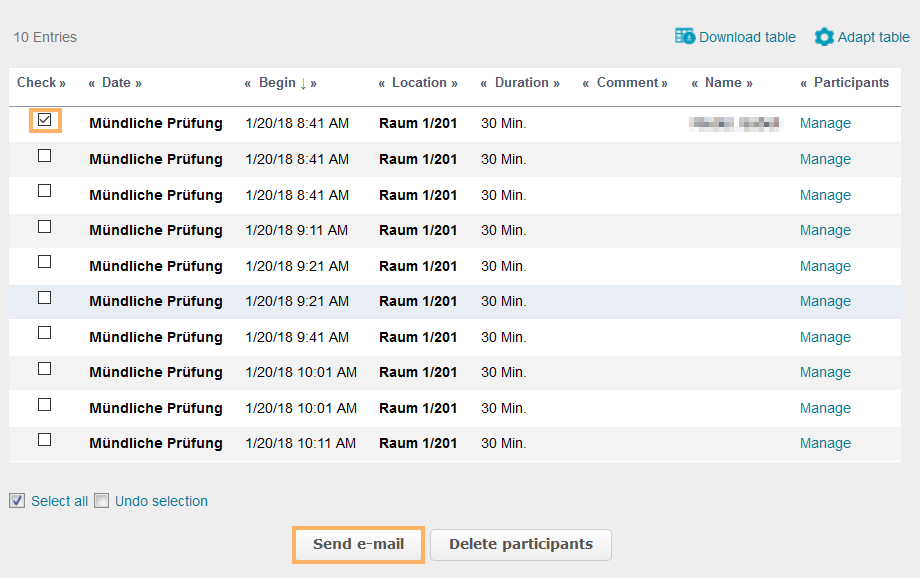
- Via the buttons above the table: Add events, send an email to all users enrolled in the event, remove all users enrolled in an event and delete events
- With a click on an event title: Edit the selected event, add participants to it, manage them and send an email to individual participants.

Buttons above the appointment table
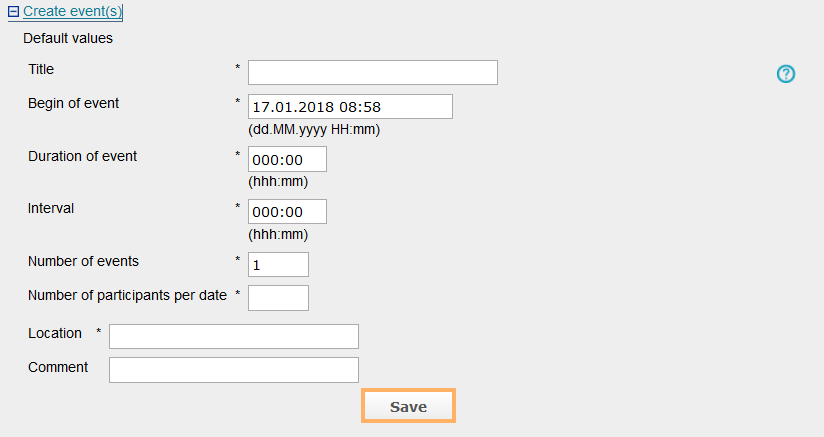
| Add appointments ...
| |||||||||
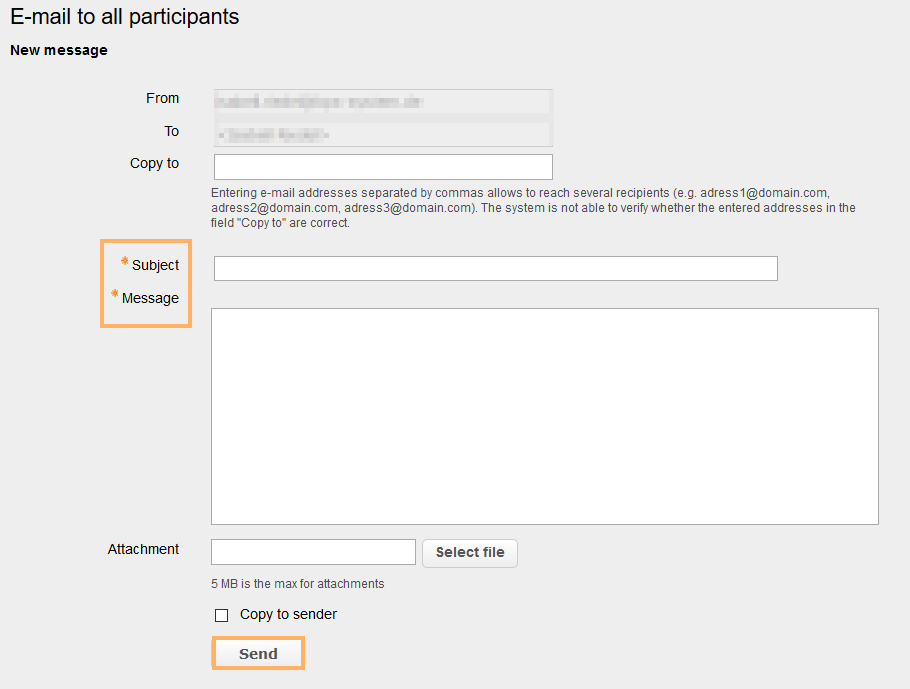
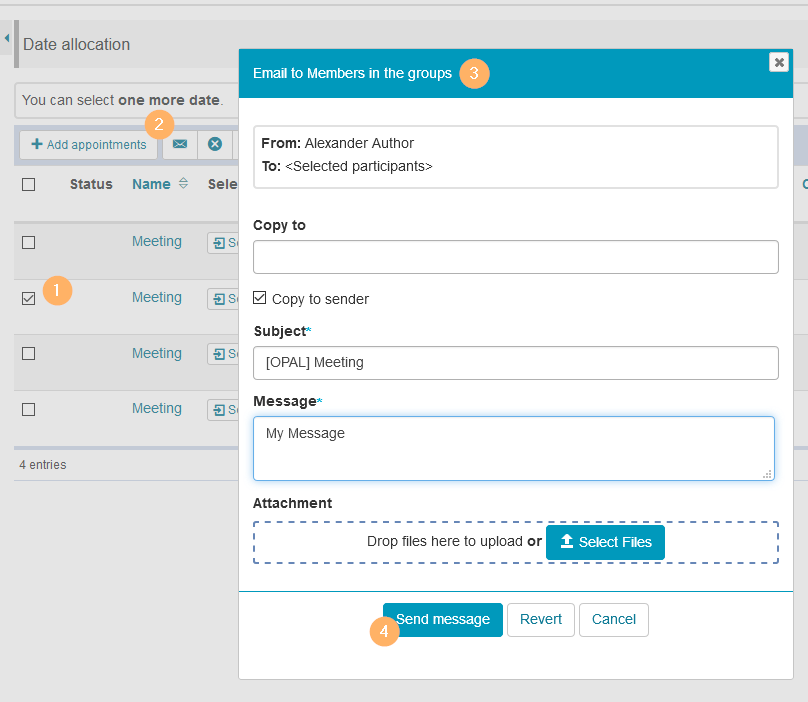
| You can easily send a message to all participants enrolled in an appointment by email. Send email ...
| |||||||||
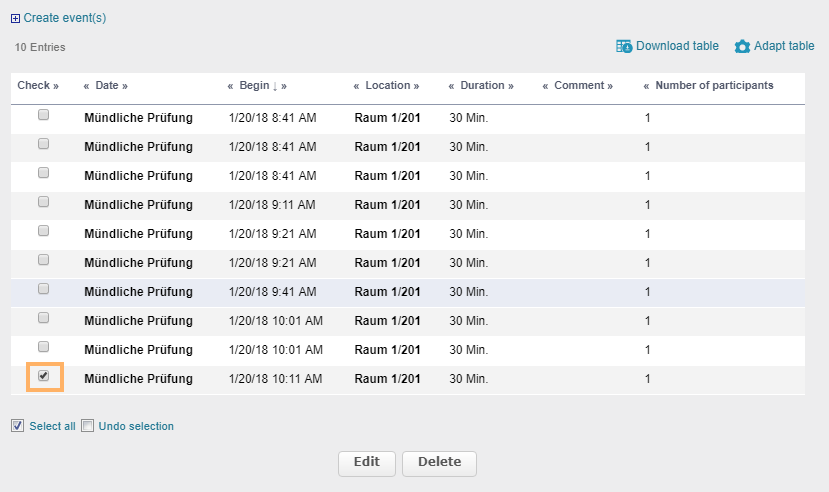
| With one click, you can remove all participants from an appointment. Remove participants ...
| |||||||||
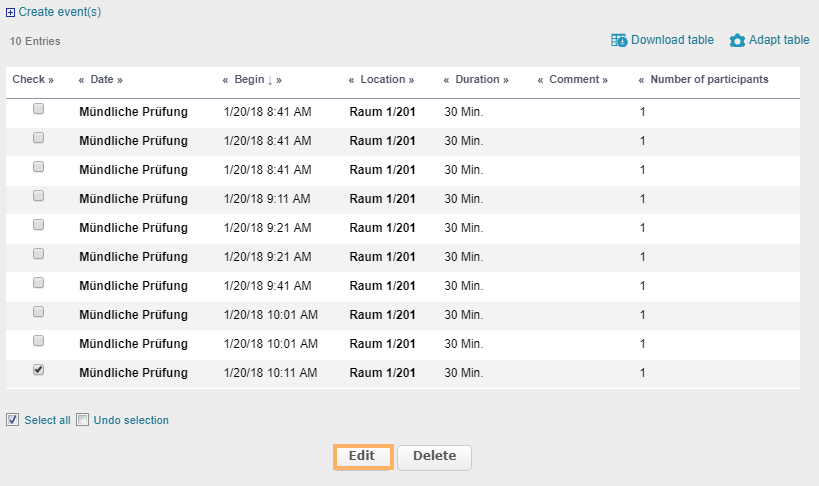
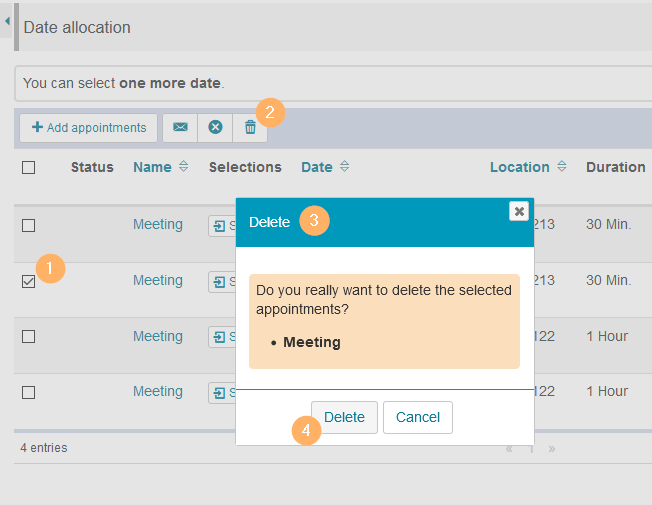
| Appointments can be deleted at any time. Delete appointment ...
|


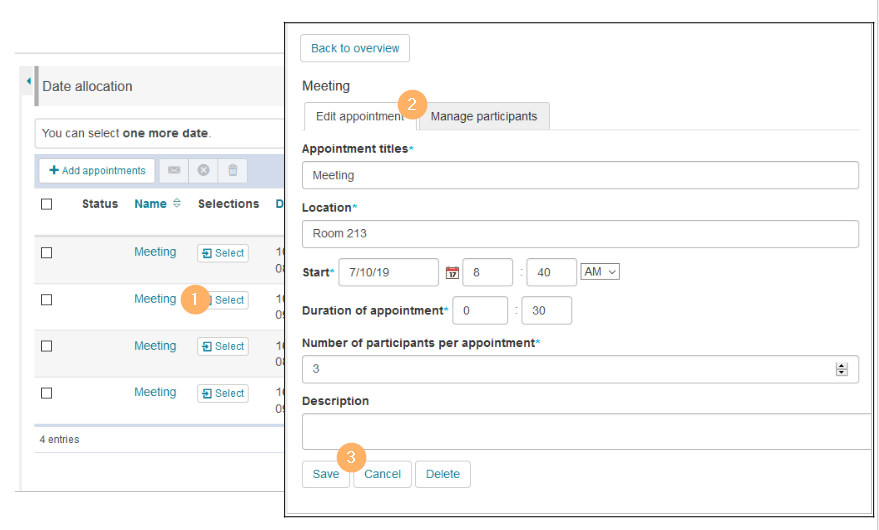
Edit appointment and manage participants of an appointment
Edit single appointment | Click on an appointment title in the appointment table to open it in the edit view. Edit single appointment ...
| |||||||
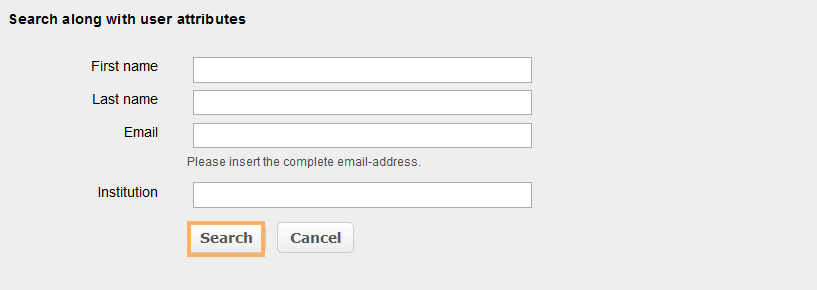
Manage participants of an appointment | Click on an appointment title in the appointment table to open it in the edit view. In the Manage participants section, users can be added, confirmed or removed. Apart from that, it is also possible to send emails to individual users. Manage participants of a single appointment ...
|