Select, create or upload page
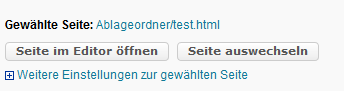
You still have to assign specific content to the newly added single page course element. To do this, use the Select or create page button in the Page Content tab.
Select, create or upload page
A window with functions for creating or selecting an HTML page as well as for uploading an HTML file opens. Decide on one of the following options:

Create a new HTML page online (option 1) ...
1 | Enter the name of the new file in the appropriate text field, select a different character set if necessary, and then click the Create button. |
|
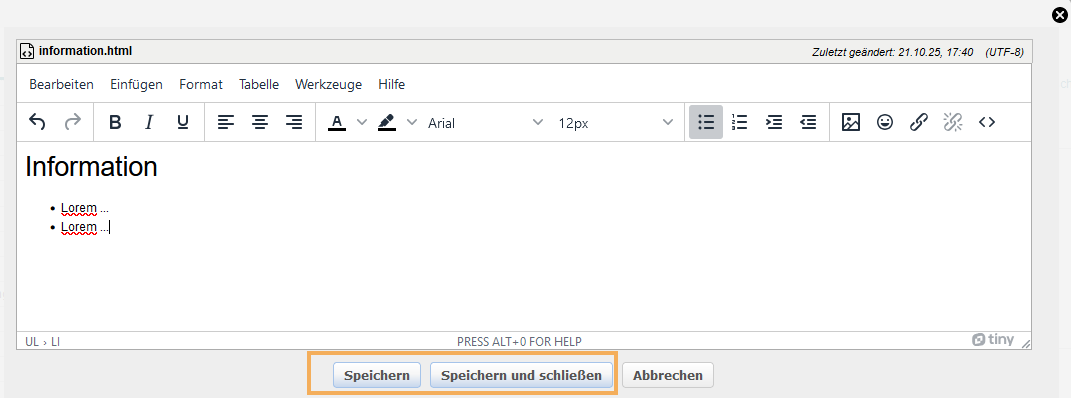
2 | The editor window for creating a new HTML page opens. Alternatively, you can also open the editor window manually by clicking the Open page in editor button. Enter the desired content. You can also use the numerous formatting options in the Text editor. Then click on Save. |
|

Select existing content from course storage folder (option 2) ...
1 | Click on the button Select page. |
|
2 | An overview of all HTML pages available in the storage folder opens. Mark the desired file by clicking on its title and confirm your selection with Select. |
|


Upload content (option 3) ...
|
|
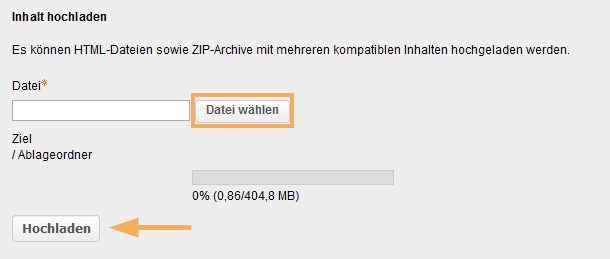
The selected file will be uploaded to the storage folder, automatically linked, and displayed under Selected page.
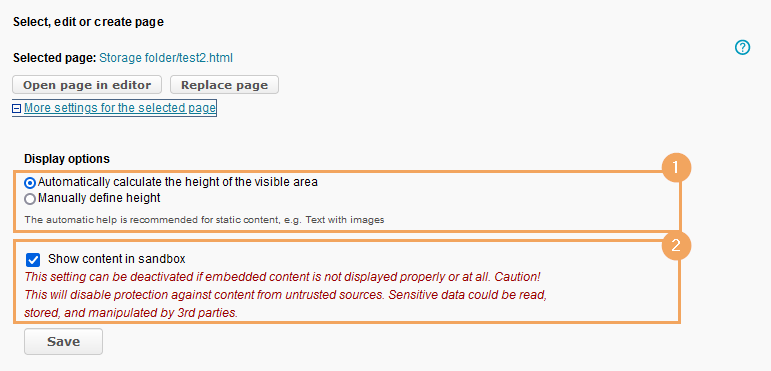
Display options
If there is any referenced content in the new course element, you can adjust the display options if necessary.
This section allows you to define your page's display options in more detail. For example, you can set the visible height of your page or share embedded content.
1 | If you would like the height of the visible area to be calculated automatically, then select the first option. Otherwise, select the second option, Manually define height, and enter the desired height in pixels (min. 300 pixels). If the page is longer than the configured visible area, scrollbars will appear to help the user navigate the page. |
|
2 | By default, content on a single page is always displayed in an isolated area - a sandbox mode - to prevent manipulation by third-party content. If some of your embedded content is not displayed correctly or at all because of this sandbox feature, you can deactivate it. | |
3 | Click on Save to confirm your entries and publish the course. |