Folder

Last modified by Carina Enke on 16.01.2024

KB_Ordner.png The course element Folder allows you to display, download, upload or create files and subfolders to structure your course or group materials. The existing subfolders and files are displayed in a tabular overview. In addition to the file name, information about the file type, the file size and the modification date are included.

A supplementary video is available for this function.


Usage: Learners' View

Overview

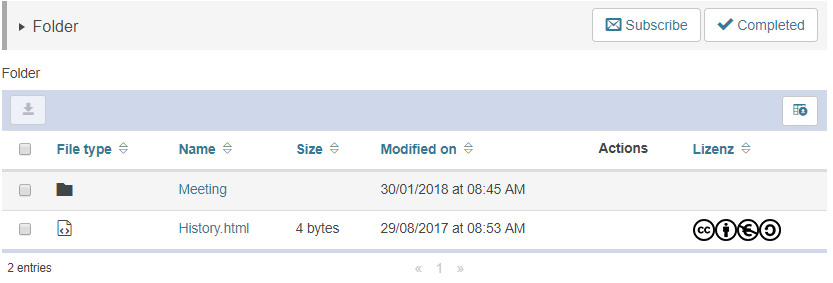
After opening the course element Folder, you will see a tabular overview of the files and subfolders contained in this folder.

This table lists information on the stored content. This includes, for example:

  • the title of the content,
  • the date on which the content was last modified,
  • the licence (if any),
  • actions available for each folder (depending on the course author's settings).

The course supervisor can assign various rights for a folder. The available functions depend on these settings.

Kursrun - Ordner Nutzeransicht_en.png

Functions for users

The following functions are available to users within a course element Folder:

Icon_Abonnieren_en.png

Subscribe to changes in the folder

You can subscribe to course elements to get automatically informed about changes.

How to do that?

To subscribe to a course element, proceed as follows:

  1. Open the relevant course and go to the desired course element.
  2. Click the Subscribe button in the upper right corner of the course element view.

Example: Subscribing to a course element File discussion

Kursbaustein Dateidiskussion - Abonnieren_en.png


3. If you have already subscribed to this course element, you will see the button Unsubscribe. Click this button if you want to cancel the subscription.

Kursbaustein Dateidiskussion - Abo beenden_en.png

For further information about the general configuration options for receiving notifications, refer to the page Subscriptions and notifications.

Icon_Kursbaustein erledigt_en.png Icon_Kursbaustein erledigt.png

Course progress

Manual progress

If the course progress indicator is activated for a course, the course element can be marked as done by clicking on Completed. Subsequently, the element gets a corresponding colour marking in the course menu as well as in the details area before the element's title.

icon_herunterladen.png

Download file

You can download single files by clicking on the file name.

Download multiple files ...

To download multiple files, select the desired content by ticking the checkbox next to it. Then click on the download file icon. This will start the automatic download and save the selected content as a .zip archive to your computer.

1

Open the relevant course element.

Kursrun - Datei herunterladen - Häkchen setzen_en.png

2

Select the files you wish to download by ticking the checkboxes next to them.

3

Click on the download file icon. The download will start automatically.

If the table contains a large number of entries, it will be displayed over several pages. When downloading selected entries, however, only those entries on the currently displayed page will be downloaded. To download entries from multiple pages at once, first use the Show all function below the table, which will display all existing entries on one page. Then select the desired entries as described above and click on the download file icon.

Kursrun - Datei herunterladen_en.png

Icon_Druckservice.png

Send print job

This is an optional function. Whether it is available or not depends on the file type and whether it has been configured for your institution. Click on the icon to start the wizard to create a print job for the print service. Further information is provided in the dialogue of the wizard.

You can be assigned extended rights by a course supervisor. These rights will make additional functions, such as creating and editing folders or content, available to you. For further information about these functions, refer to the help section Functions in the course view .

Configuration: Authors' View

In the course editor

The following functions are available to you in the course editor:

Add a course element folder

Click to open instructions on how to add a course element ...

To integrate a course element into your course, proceed as follows:

1

Open the course you want to edit.

Use the pencil icon at the top of the page to open the editing mode.

Kurs-zum Editor wechseln_en.png

2

Select a course element from the menu on the right.

Kurseditor-KB auswählen_en.png

3

In the new window, you can define the position of the new course element within your course structure (left navigation pane). The available positions are marked with an insert icon.

To insert the new course element into an existing substructure, you need to open the substructure by clicking on the small triangle symbol next to its title. The area will open and you will again see insert icons at the positions which are available.

Click on the insert icon at the desired position within the structure. The selected area will be highlighted.

Confirm your choice with Insert course element.

Kurseditor-KB in tree einfügen_en.png

4

The element will be inserted into the course structure at the selected position.

Depending on the course element, you have to make additional configurations or add content in order to complete the configuration.

For these changes to take effect, you must publish the course. The course element will then also become available in the course view.

Kurseditor-KB konfigurieren_en.png


General configuration settings

In the course editor, you will find the following configuration tabs:

Title and description

Configuration options in the tab title and description ...

Kurseditor - Tab Titel und Beschreibung_en.png

Elements

Description

Title

You need to enter a title for the course element. The title can comprise a maximum of 100 characters. All special characters and numbers are permitted. The title will appear in the navigation menu of the course and also as a heading in the content area.

Changes to the title of the first course element, the so-called main course node ...
 If you change the title of the first course element, the new content will only be applied to the main course node and then displayed in the opened course. If you wish to edit the course title or description, you can do so using the more settings menu of the course.

Subtitle

You can enter a subtitle for the course element with a maximum of 255 characters. All special characters and numbers are permitted. The title will appear as a tooltip in the navigation menu and - if selected and configured accordingly - as a subtitle in the content area.

Description

Here you can describe the course element. The description will appear in the content area below the title.

Depending on the settings configured in the element Display, this additional text is displayed to the user when opening the course element. The user can expand or collapse the view of the text.


Display

Define which information about the course element should be displayed in the course view. In addition to the content, you can optionally display the title and description. All course elements are provided with a reasonable presetting, which mostly includes the setting Title, description and content. You can adjust this setting in accordance with the options available for each course element.

Set link for this course element

Each course element can be accessed via fixed link addresses. Therefore, an internal and an external URL is assigned to each course element. These direct links to concrete elements can be used within courses or provided to learners. The URLs are located below the title and description of the element and will appear upon selecting Set link for this course element.  

  • External link: To refer to this course element from outside of the course or learning platform, you can use the external link and insert it, for example as a href attribute, into the desired HTML page.
  • Internal link: To set a link to another course element within the same course, you can insert the internal link as a href attribute into the desired HTML page.

ID

You will need the ID number of the course element (on the bottom right), for example, if you wish to use the expert mode in the visibility or access tab.

VisibilityIf necessary, restrict the visibility of the course element here. For more information, see the Visibility help page.
Access If necessary, restrict the visibility of the course element here. For more information, see the Access help page.

Folder configuration

In this tab, you can upload files and adjust the quota of a folder. Detailed instructions are given in the following section Special configuration settings.

Multilingualism

In this tab, different translations can be added to individual course element areas.

Special configuration settings

In the tab Folder configuration, you have the following options:

Open folder

Here you can add content to the course element. Click on the button to open a simple editor view of the folder. All of the functions available in the editor view can also be directly used in the course view.

For more information on how to use the simple editor view, see the help page Folder functions (simple editor view).

Kurseditor - Ordnerkonfiguration Autorenansicht_en.png

Users with extended rights may also configure the size of the storage space for a folder (quota).


Functions in the course view

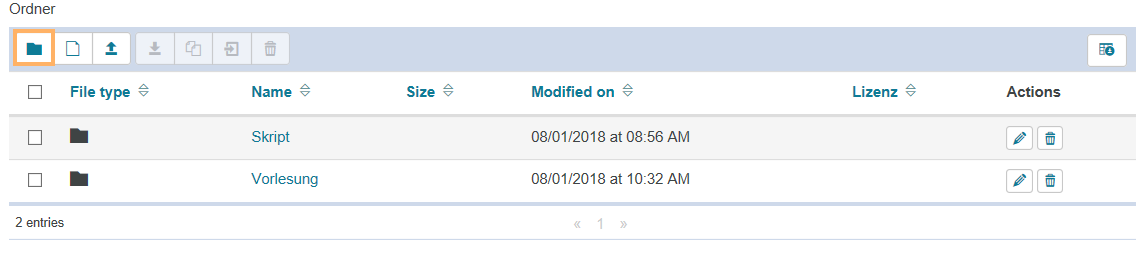
In the course view of a course element Folder, you have access to all editing options available to users. Moreover, all of the functions you need to add and manage folder content will be available to you.
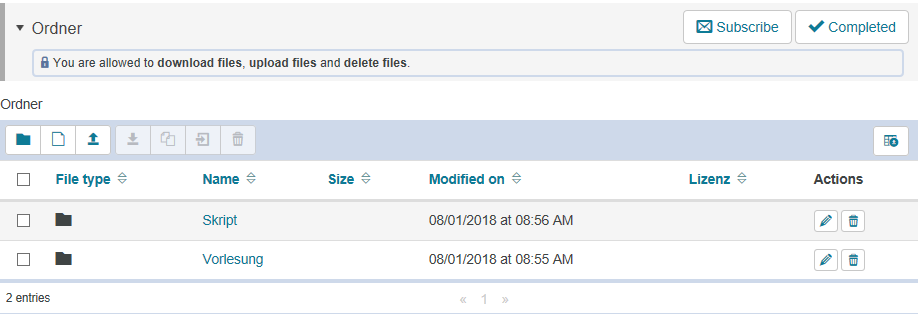
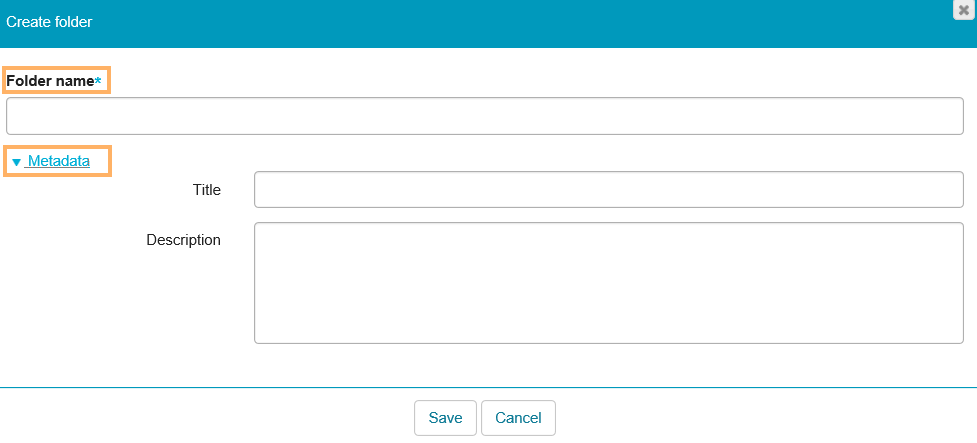
Kursrun Ordner - Überblick_en.png

Icon_Ordner erstellen.png

Create folder

Click on this button to create a new folder.

How to do that?

1

Open the relevant course element.


Kursrun - Neuen Ordner erstellen_en.png

2

Click on the new folder icon.

3

Enter a folder name and optionally add metadata.

Please make sure that the folder name does not contain any of the following characters: " / ` ; : * < and >.

Kursrun - Neuer Ordner Name und Metadaten_en.png

4

Click on Save.

Kursrun - Neuer Ordner speichern_en.png


Icon_Neue Datei.png

New file

This option allows you to add a new file.

How to do that?
  1. Open the relevant course element.
  2. Click on the new file icon.

Kursrun - Neue Datei_en.png

3. Enter a file name and optionally add content.

Kursrun - Neue Datei - Dateiname und Inhalt_en.png

4. If necessary, assign a licence and add metadata.

Kursrun - Neue Datei - Lizenz und Metadaten_en.png

5. Click on Save to complete the editing process.

Kursrun - Neue Datei - Speichern_en.png


Icon_Hochladen.png

Upload file

This option allows you to upload a file from your computer.

How to do that?
  1. Open the relevant course element.
  2. Click on the upload file icon.

Kursrun - Datei hochladen_en.png

3. Click on Select files to upload files from your computer or drag and drop the desired files into the upload field.

Kursrun - Datei hochladen - Datei auswählen_en.png

4. Confirm the upload by clicking on the Upload button.

Kursrun - Datei hochladen - Upload_en.png


icon_herunterladen.png

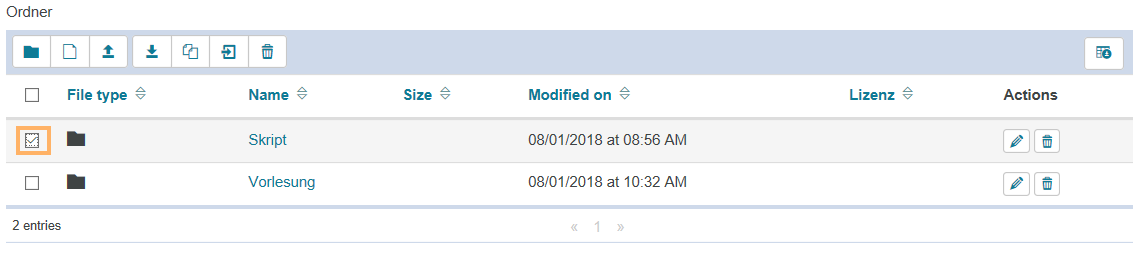
Download selected files as a ZIP archive

This option allows you to download selected files as a ZIP archive.

How to do that?
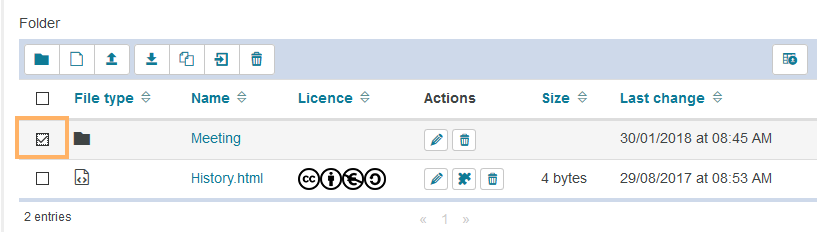
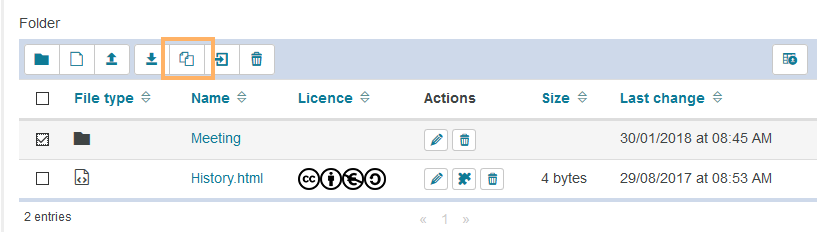
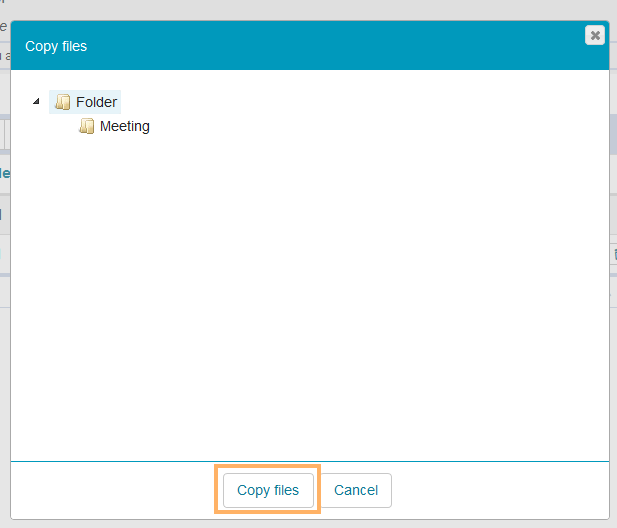
1

Open the relevant course element.

Kursrun - Datei herunterladen - Häkchen setzen_en.png

2

Select the files you wish to download by ticking the checkboxes next to them.

3

Click on the download file icon. The download will start automatically.

If the table contains a large number of entries, it will be displayed over several pages. When downloading selected entries, however, only those entries on the currently displayed page will be downloaded. To download entries from multiple pages at once, first use the Show all function below the table, which will display all existing entries on one page. Then select the desired entries as described above and click on the download file icon.

Kursrun - Datei herunterladen_en.png


Icon_Kopieren.png

Copy content

Click on this button to copy content.  

How to do that?
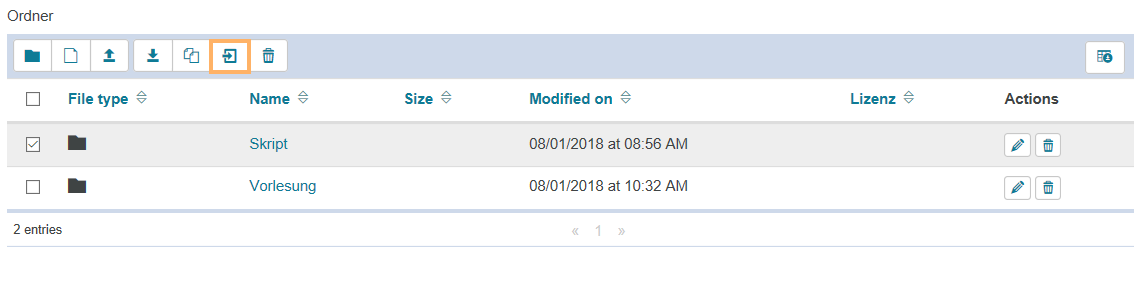
  1. Open the relevant course element.
  2. Select the files you want to copy by ticking the checkboxes next to them.

Kursrun - Datei herunterladen - Häkchen setzen_en.png

3. Click on the copy file icon.

Kursrun - Datei kopieren_en.png

4. Then select the location where you want to copy the files and confirm the process with Copy files.

Kursrun - Datei kopieren - Bestätigen_en.png


Icon_Verschieben.png

Move content

This function allows you to move content within the existing structure of the folder element.  

How to do that?
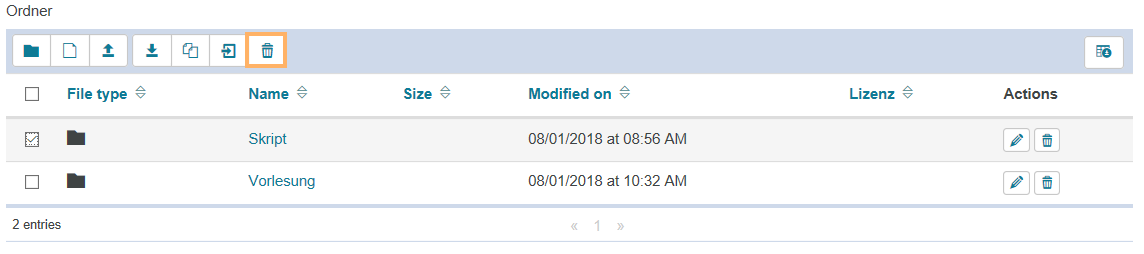
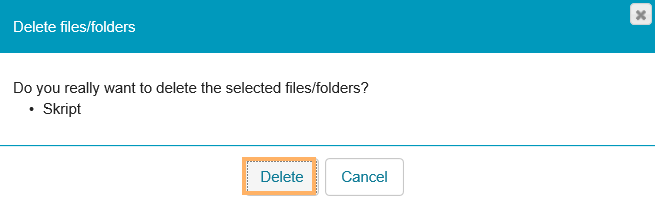
1. Open the relevant course element.

2. Select the files you want to move by ticking the checkboxes next to them.

Kursrun - Datei herunterladen - Häkchen setzen_en.png

3. Click on the move folder icon.

Kursrun - Datei verschieben_en.png

4. Then select the location where you want to move the files and confirm the process with Move files.

Kursrun - Datei verschieben - Bestätigung_en.png


Icon_Löschen.png

Delete content

Click on this button to delete content.  

How to do that?
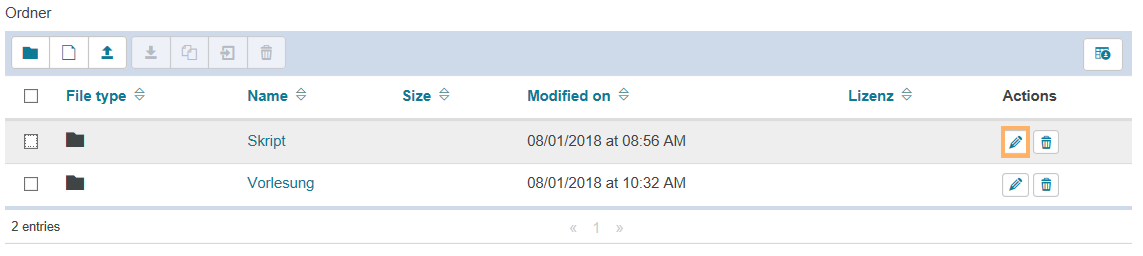
  1. Open the relevant course element.
  2. Select the files you want to delete by ticking the checkboxes next to them.

Kursrun - Datei herunterladen - Häkchen setzen_en-1.png

3. Click on the trash can icon.

Kursrun - Datei löschen_en.png

4. Confirm the dialogue with Delete.

Kursrun - Datei löschen - Bestätigung_en.png


Icon_Bearbeiten.png

Edit folder

This option allows you to edit content.  

How to do that?

1. Open the relevant course element.

2. Click on the pencil icon next to the content you want to edit.

Kursrun - Datei bearbeiten_en.png

3. Make your desired changes and click on Save.

Kursrun - Bearbeitung abschließen_en.png


Icon_Tabellendownload.png

Download table

Export table content as a file. The file format you have selected within your System settings will be used as the default format.

You can also authorise other users to add and manage folder content via the Access rights to the course element.