How do I publish a course only for users of one/my school?
Scenario
You want to publish a course on OPAL School only for users of a specific school. Users from another school should not be able to view any content from this course, even if they find it in the search results or try to open it via a direct link.
Solution
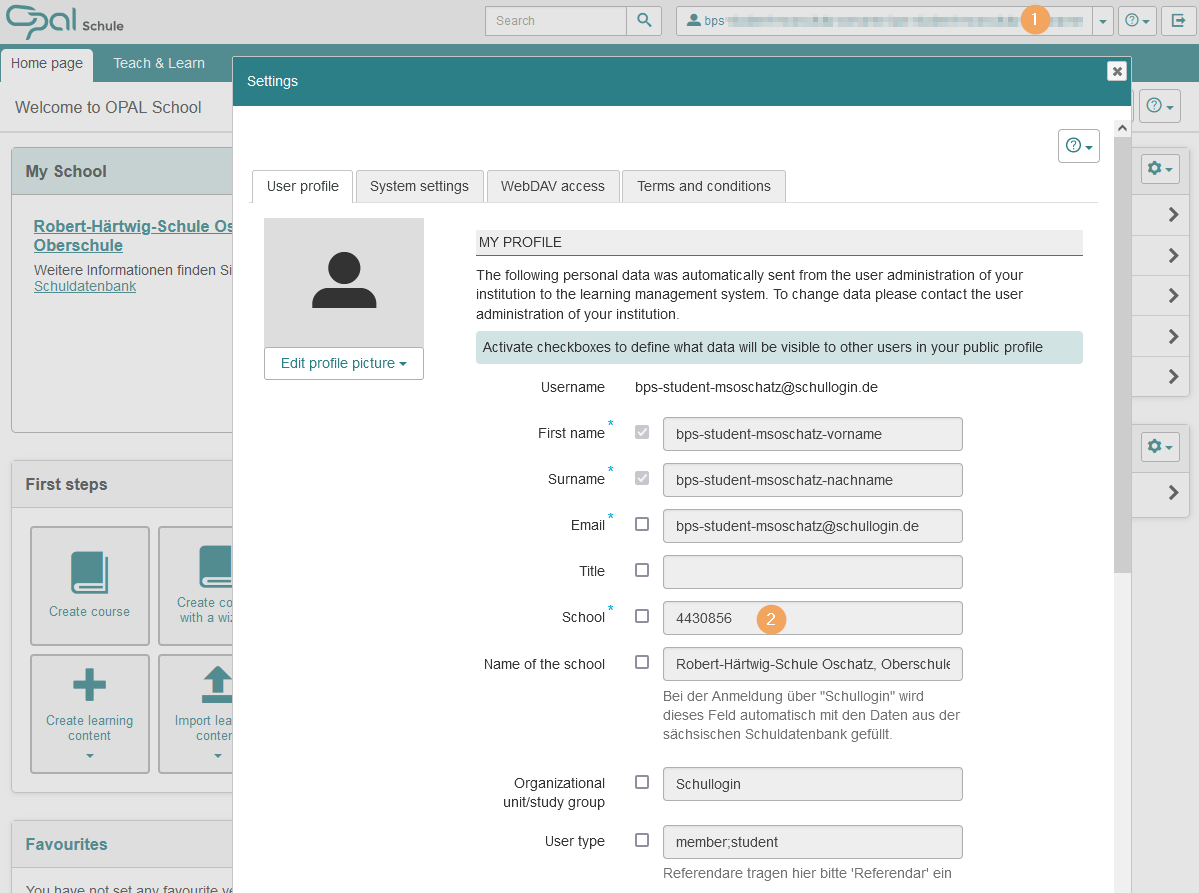
For this kind of visibility restriction, you can use the Main school attribute. In most cases, this will be a school where you work as a teacher. The attribute is read out automatically during the visibility configuration process. For comparison, you can also find this information in your user profile. Open the user profile by clicking on your name in the upper right area (1). In the Main school field (2), you will find one or more key numbers of the schools you work for. If you need the main school number of another school, you can search the school database for this information. The database displays a department key (Dienststellenschlüssel) for each school contained in it. This key corresponds to the Main school attribute in the learning platform. |
|
To share a publicly published course only with users of a specific school, proceed as follows:
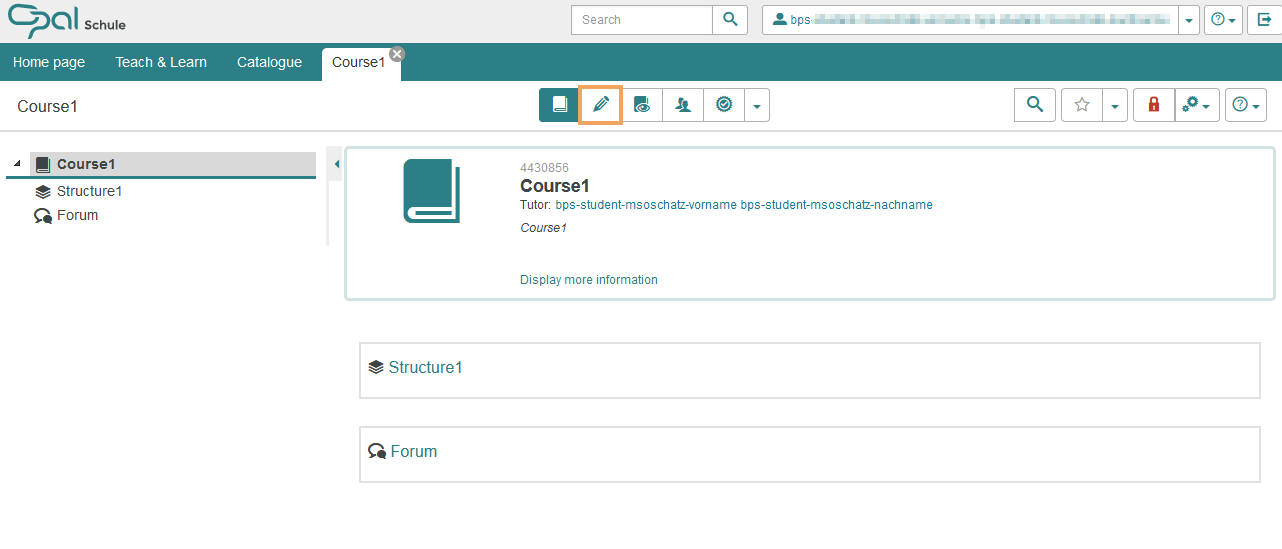
1 | Open the course. Switch to the course editor. |
|
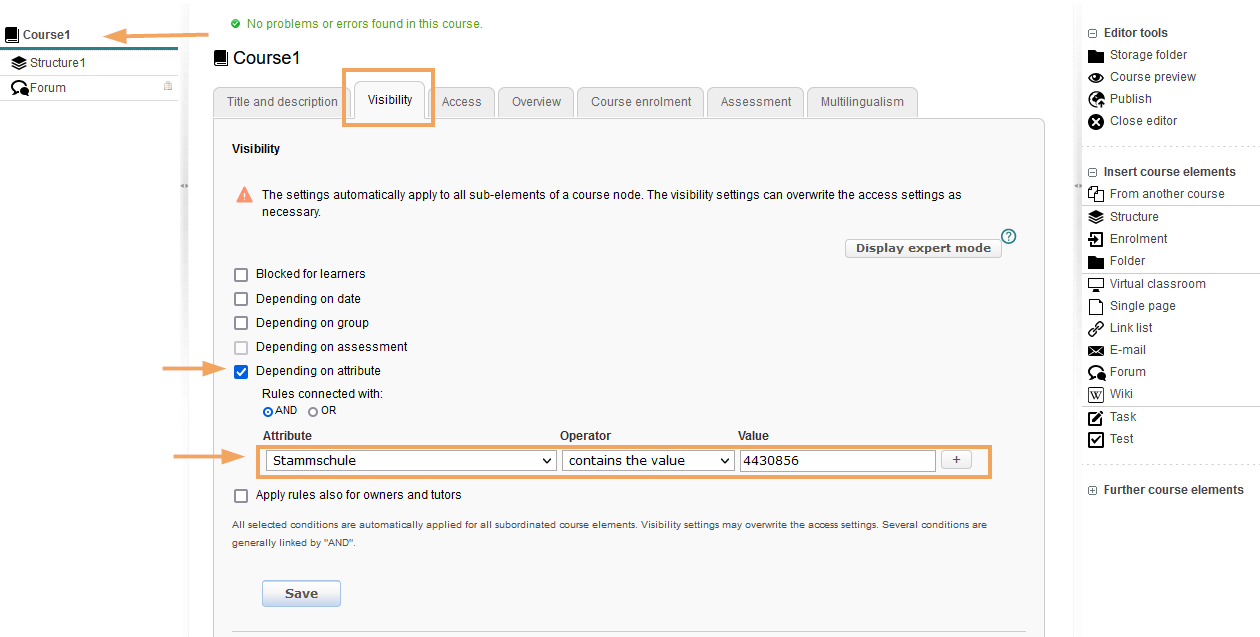
2 | In the top segment with the course title, switch to the Visibility tab. |
|
3 | Activate the Depending on attribute checkbox here. The Main school attribute is automatically preselected and displayed. The value for your main school is also prefilled. | |
4 | Save your entries and publish the course. |


