Course Folder (Storage Folder)

Last modified by Carina Enke on 23.01.2024

Icon_Ordner_schwarz.png The course folder is the central storage location for all course-related files. It serves to store images, text documents as well as specific layout templates such as individual course templates or certificate templates.

Both the course folder and its content are not directly visible to learners, who can only access documents that are used within course elements. For example, if an HTML document is used as a summary page of a course element, learners will see the HTML content when opening the course element.

Only users with the right to edit the course will have access to the course folder.


Open course folder

To open the course folder, proceed as follows:

1

Open your course and switch to the course editor.

Kursansicht - Aufruf Kurseditor_en.png

2

In the Editor tools box, click on the Storage folder entry.
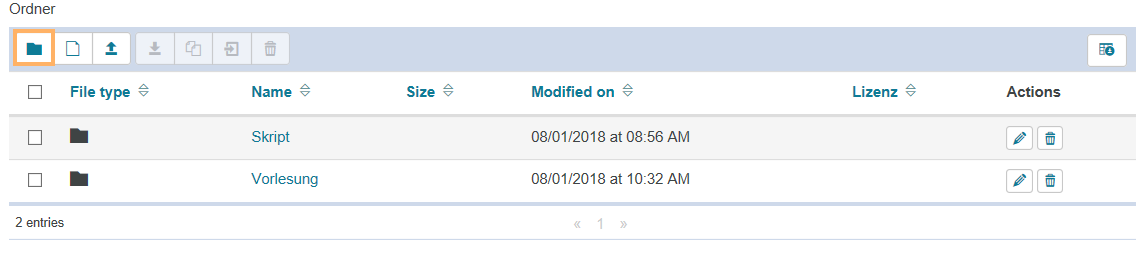
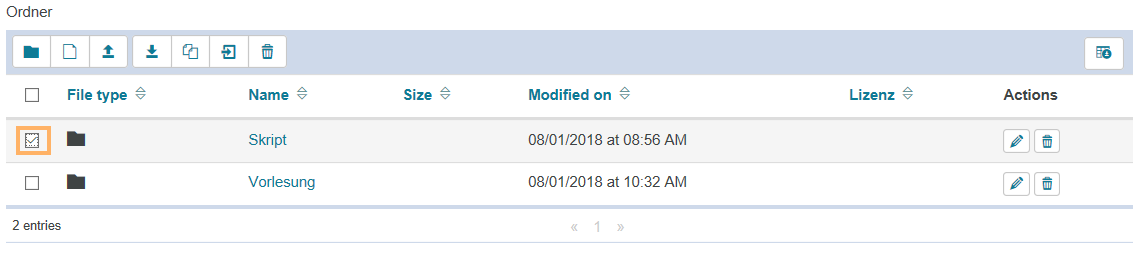
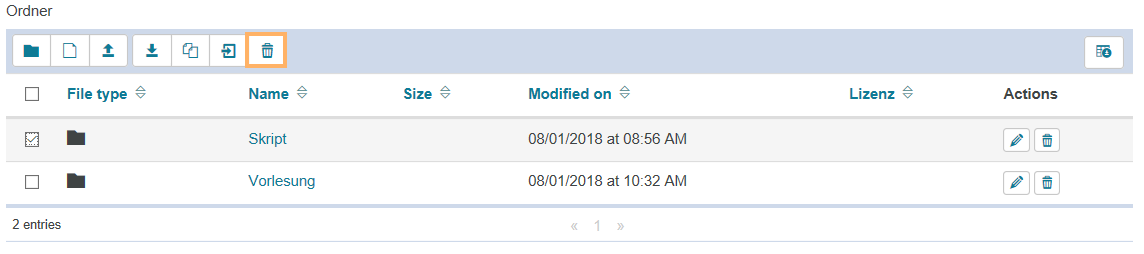
Kurseditor - Aufruf Kursablageordner_en.png

3

This will open the storage folder, and you will see a tabular overview of all files and folders already stored there. Each contained (sub)folder or file comes with information about its name, size, modification date, and license (if any). You can create new files and folders or upload existing ones from your computer.

Kurseditor - Ablageordner_en.png

Functions in the course folder

The following functions are available in the course folder:
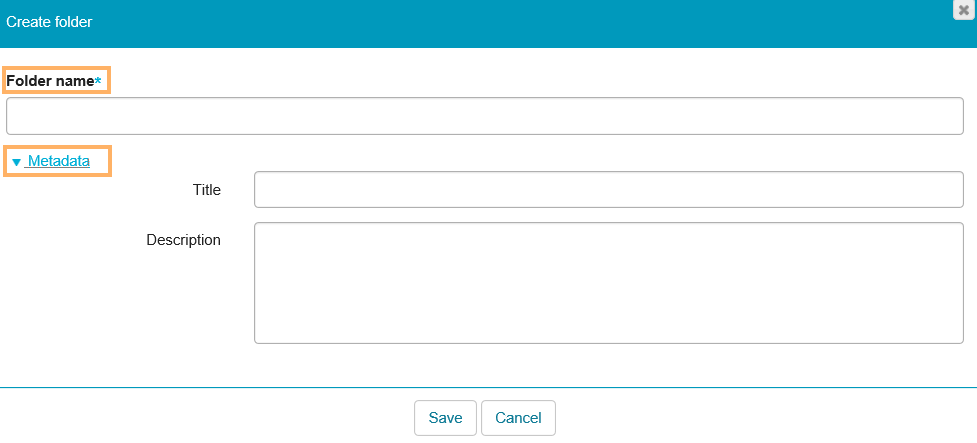
Icon_Ordner erstellen.png

Create folder

This option allows you to create a new folder.

How to do that?

1

Open the relevant course element.


Kursrun - Neuen Ordner erstellen_en.png

2

Click on the new folder icon.

3

Enter a folder name and optionally add metadata.

Please make sure that the folder name does not contain any of the following characters: " / ` ; : * < and >.

Kursrun - Neuer Ordner Name und Metadaten_en.png

4

Click on Save.

Kursrun - Neuer Ordner speichern_en.png

Icon_Neue Datei.png

Create file

With this button, you can create a new file and add it to your personal folder.

How to do that?
  1. Open the relevant course element.
  2. Click on the new file icon.

Kursrun - Neue Datei_en.png

3. Enter a file name and optionally add content.

Kursrun - Neue Datei - Dateiname und Inhalt_en.png

4. If necessary, assign a licence and add metadata.

Kursrun - Neue Datei - Lizenz und Metadaten_en.png

5. Click on Save to complete the editing process.

Kursrun - Neue Datei - Speichern_en.png

Icon_Hochladen.png

Upload file

Using this button, you can upload files from your computer to your personal folder.

How to do that?
  1. Open the relevant course element.
  2. Click on the upload file icon.

Kursrun - Datei hochladen_en.png

3. Click on Select files to upload files from your computer or drag and drop the desired files into the upload field.

Kursrun - Datei hochladen - Datei auswählen_en.png

4. Confirm the upload by clicking on the Upload button.

Kursrun - Datei hochladen - Upload_en.png

icon_herunterladen.png

Zip

Click this button to download files from your personal folder as a ZIP archive.

How to do that?
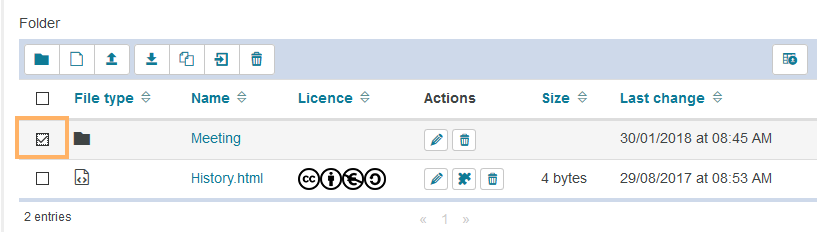
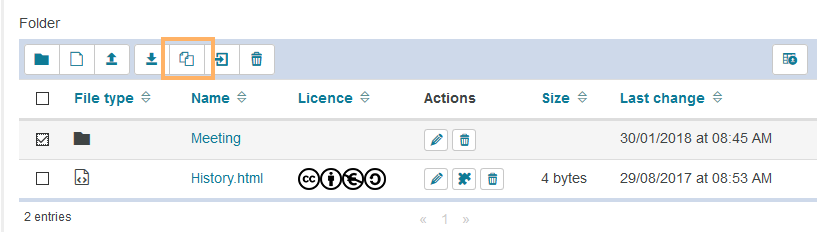
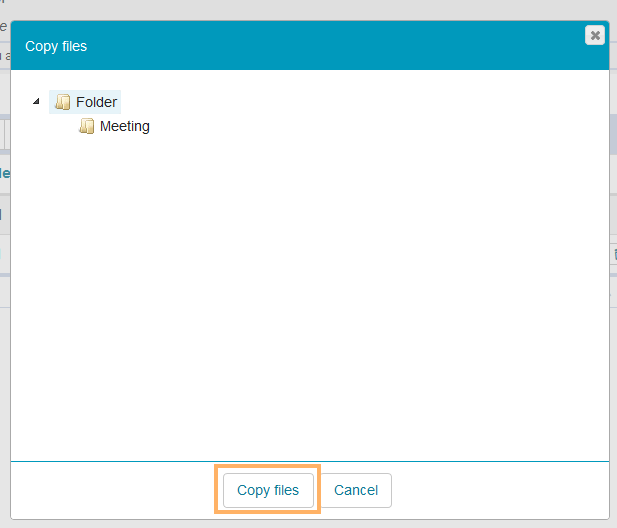
1

Open the relevant course element.

Kursrun - Datei herunterladen - Häkchen setzen_en.png

2

Select the files you wish to download by ticking the checkboxes next to them.

3

Click on the download file icon. The download will start automatically.

If the table contains a large number of entries, it will be displayed over several pages. When downloading selected entries, however, only those entries on the currently displayed page will be downloaded. To download entries from multiple pages at once, first use the Show all function below the table, which will display all existing entries on one page. Then select the desired entries as described above and click on the download file icon.

Kursrun - Datei herunterladen_en.png

Icon_Kopieren.png

Copy

This option allows you to copy content from your personal folder.

How to do that?
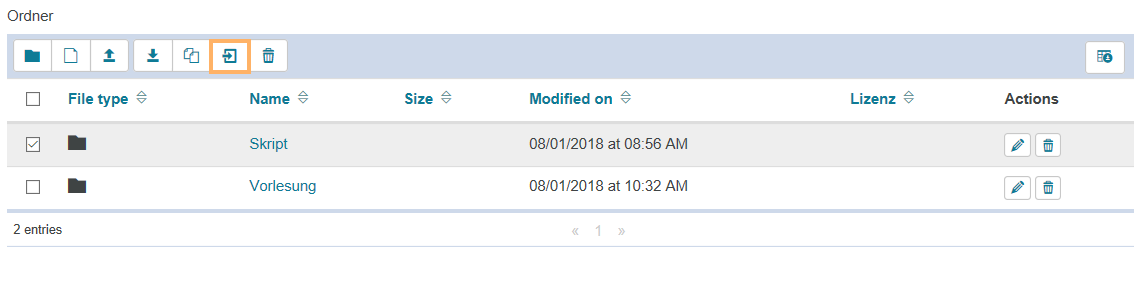
  1. Open the relevant course element.
  2. Select the files you want to copy by ticking the checkboxes next to them.

Kursrun - Datei herunterladen - Häkchen setzen_en.png

3. Click on the copy file icon.

Kursrun - Datei kopieren_en.png

4. Then select the location where you want to copy the files and confirm the process with Copy files.

Kursrun - Datei kopieren - Bestätigen_en.png

Icon_Verschieben.png

Move

Use this button to move content.

How to do that?
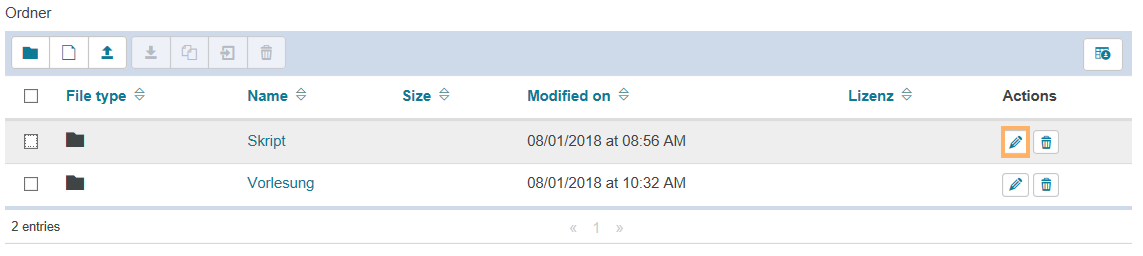
1. Open the relevant course element.

2. Select the files you want to move by ticking the checkboxes next to them.

Kursrun - Datei herunterladen - Häkchen setzen_en.png

3. Click on the move folder icon.

Kursrun - Datei verschieben_en.png

4. Then select the location where you want to move the files and confirm the process with Move files.

Kursrun - Datei verschieben - Bestätigung_en.png

Icon_Bearbeiten.png

Edit

Click this button to edit the content of a folder.

How to do that?
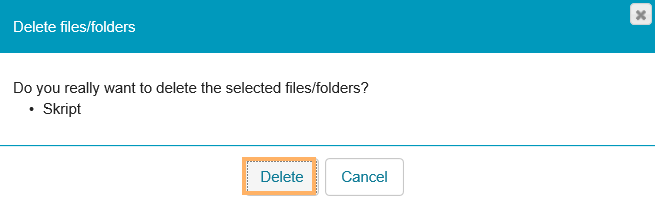
1. Open the relevant course element.

2. Click on the pencil icon next to the content you want to edit.

Kursrun - Datei bearbeiten_en.png

3. Make your desired changes and click on Save.

Kursrun - Bearbeitung abschließen_en.png

Icon_Löschen.png

Delete

This option allows you to delete content from your personal folder at any time.

How to do that?
  1. Open the relevant course element.
  2. Select the files you want to delete by ticking the checkboxes next to them.

Kursrun - Datei herunterladen - Häkchen setzen_en-1.png

3. Click on the trash can icon.

Kursrun - Datei löschen_en.png

4. Confirm the dialogue with Delete.

Kursrun - Datei löschen - Bestätigung_en.png

Icon_Artefakt.png

Save as artefact

You can save your content to your ePortfolio using this function.

How to do that?

Detailed instructions on how to use artefacts can be found on the help page Artefacts.

Save layout templates to the course folder

The course folder also includes all specific layout templates such as individual course templates, certificate templates and CSS files. Instructions on how to design your course using such templates can be found on the help pages Course layout or Certificates.

Use WebDAV connection to the course folder

Files are usually uploaded to a system via upload forms, i. e. you select one or more files and upload them. WebDAV helps you to save even more time: Using WebDAV, you can comfortably copy individual files or even entire folders from your computer to the learning platform via the file manager of your operating system. More detailed information can be found on the help page WebDAV

Include resource folder in course folder

You have the option to include a Resource Folder in the course folder (storage folder). In a resource folder, you can add files for use in multiple courses, such as a collection of pictures or topics. By integrating the resource folder in the course storage folder, you can easily use these files in multiple courses.

Currently, you can only view the content of the included resource folder in the course editor and assign it to corresponding course elements. Advanced display options are already planned for the new interface.