Wiki

Last modified by Carina Enke on 06.02.2024

KB_Wiki.png

With a wiki (Hawaiian for quick), much like an online encyclopaedia, you can easily create articles and content and edit them together with other users.

Users like to use the wiki, for example, for the following application scenarios:

  • as a glossary or index of a course
  • as an aid to certain course topics
  • as a discussion forum with advanced features
  • as a publicly accessible repository for all kinds of texts and articles (e.g. to submit tasks)

Within a wiki, each user can create new articles, edit existing articles, link articles with each other, and discuss articles with other users. The articles can be formatted using the wiki syntax (typography, headings, lists, links). It is also possible to insert images, audio files, as well as mathematical formulas in LaTeX format.

Usage: Learners' View

Overview

1

In the upper area of the wiki, you will find the functions to subscribe to a wiki and to create articles as well as the File management.


2

The left navigation area shows the wiki menu. The tutor can alter the menu and provide selected articles as quick access. Besides, you have access to all categories in the wiki and the history of your recently viewed articles.


3

In the middle section, you can see the wiki content. Using the tabs above the page, you can edit the current article, engage in discussions on this article, and view the history.


Kursrun - Bereiche im Wiki_en.png

The tutor can assign various rights for the wiki. The displayed functions and areas depend on these settings.

Functions for users

As a user, you can use the following functions in a Wiki course element:

You can be assigned extended rights by a course supervisor. These rights will make additional functions, such as creating and editing posts, available to you.

Upper page area

Icon_Abonnieren_en.png

Subscribe

You can subscribe to course elements to get automatically informed about changes.

How to do that?

To subscribe to a course element, proceed as follows:

  1. Open the relevant course and go to the desired course element.
  2. Click the Subscribe button in the upper right corner of the course element view.

Example: Subscribing to a course element File discussion

Kursbaustein Dateidiskussion - Abonnieren_en.png


3. If you have already subscribed to this course element, you will see the button Unsubscribe. Click this button if you want to cancel the subscription.

Kursbaustein Dateidiskussion - Abo beenden_en.png

For further information about the general configuration options for receiving notifications, refer to the page Subscriptions and notifications.

Icon_Erstellen_en.png

Create article

For more information, see the section Neuen Wikiartikel erstellen.

Icon_Dateiverwaltung_en.png

File management

For more information, see the section Wiki Dateiverwaltung.

Navigation pane (on the left):

Index

Displays all linked wiki articles.

From A to Z

Displays all wiki articles in alphabetical order.

Categories

Displays all categories of the opened wiki resource in alphabetical order. Click on a category entry to open a list of all wiki pages that have been assigned to this category. For more information, see the section Wikiartikel nach Kategorien einsehen.

Last change

Displays a list of your last changed wiki articles. Use the link in the entries to open the respective wiki pages.

Recently viewed

Displays a list of your recently viewed wiki articles. A maximum of five entries will be displayed.

Middle area

Article

This tab displays the content of an article. If you are the author of the article, you will see the button Add artefact on the right. This button allows you to add the article as an artefact to your ePortfolio.

Edit article

This tab opens the editor view of the selected article.

It will only be visible if you have editing rights within the wiki. You can then create new articles in the wiki and edit existing ones.

All edit options are explained on the help page Edit wiki article.

Discussion on a wiki article

A wiki text is usually created by several authors. In the Discussion section, there is a forum for each article, which can be used to exchange comments on the article with other authors. For more information, see the section Wiki Article Discussion

History

Here you can track the status of the wiki article, compare different versions, and restore a version if necessary. For more information, see the section Open History in the Wiki.

Configuration: Authors' View

Functions in the course editor

The following functions are available to you in the course editor:

Add a course element wiki

Click to open instructions on how to add a course element ...
Unknown macro: includeplus. Click on this message for details.

General configuration settings

In the course editor, you will find the following configuration tabs:
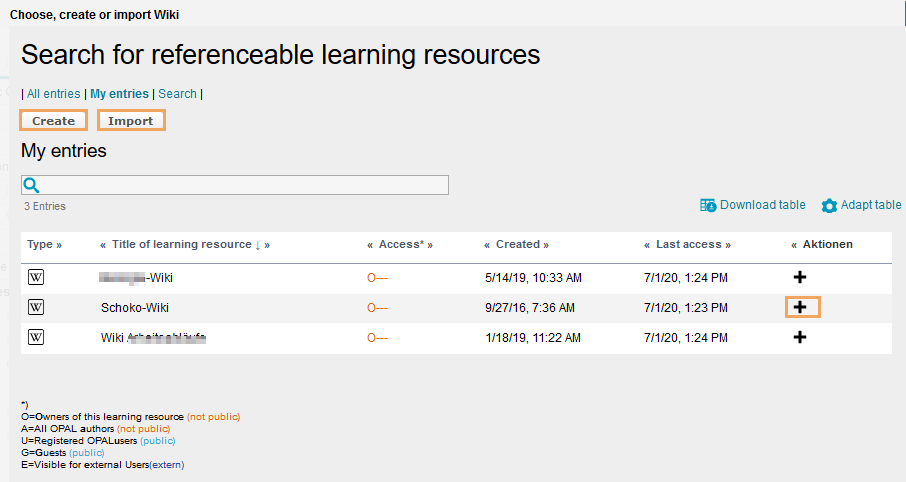
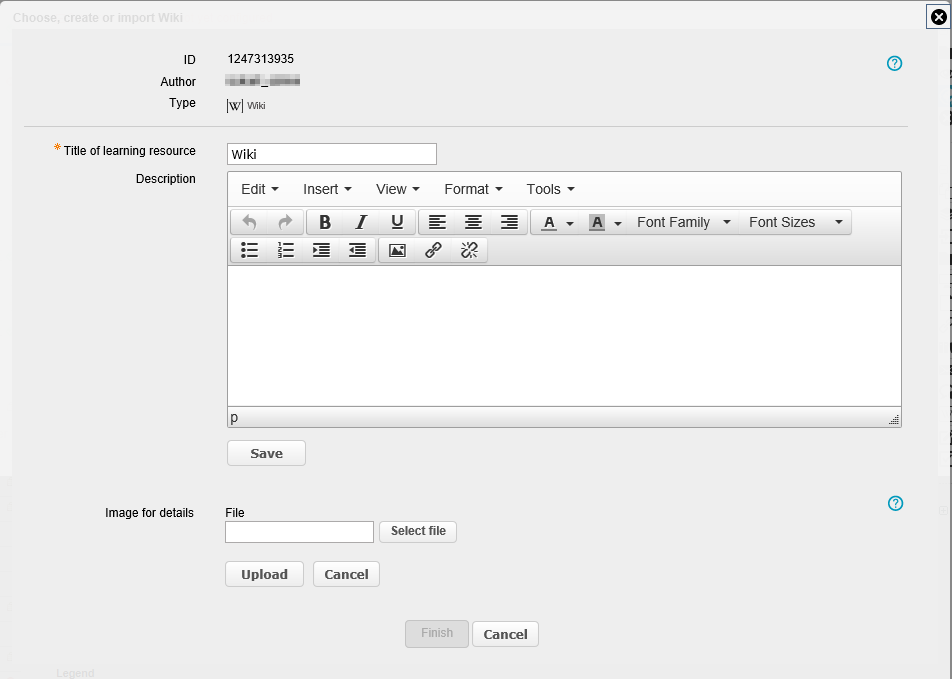
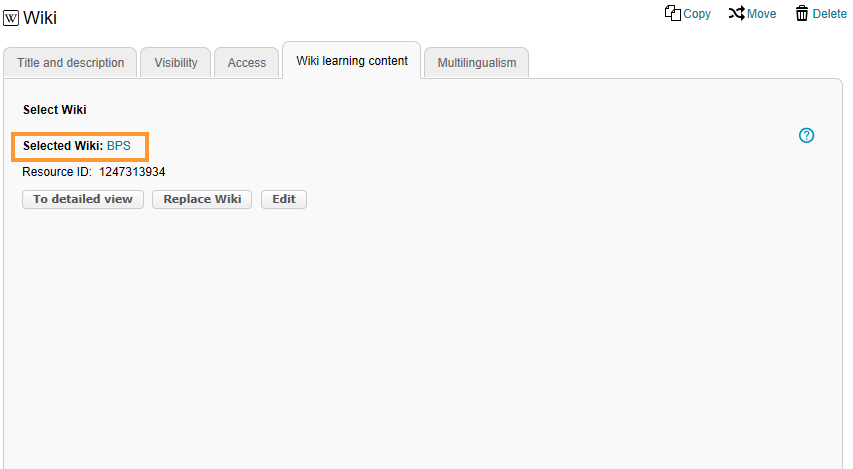
Title and description

Configuration options in the tab title and description ...
Unknown macro: includeplus. Click on this message for details.

Visibility

Configuration options in the tab visibility and access ...
Unknown macro: includeplus. Click on this message for details.

Unknown macro: includeplus. Click on this message for details.

Access

Wiki learning content

In this tab, you can select, create, and import wiki resources. Detailed instructions are given in the following section.

Multilingualism

In this tab, different translations can be added to individual course element areas.

Special configuration settings

In the tab Wiki learning content, you can assign a wiki resource to your course element. Choose one of the three options:

  • use an existing Wiki learning resource (option 1),
  • create and use a new Wiki learning resource (option 2), or
  • import a new Wiki learning resource (option 3).
Start the configuration for all three variants as follows ...
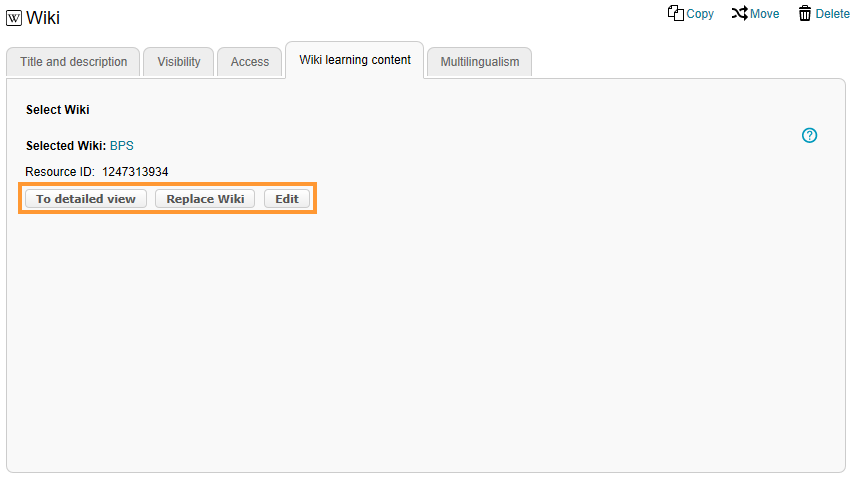
1.

Switch to the Wiki learning content tab and click on Choose, create or import Wiki.

Kurseditor - Wiki wählen, erstellen oder importieren_en.png

2.

A page with functions to create and import new wiki resources and a list of your existing wiki resources will open.

Decide on one of the following options:

 Kurseditor - Wiki drei Optionen_en.png

3a

(Option 1:)

To use an existing Wiki learning resource, click on the Icon_Hinzufügen schwarz.pngplus icon next to the desired resource in the Actions column.

Kurseditor - Wiki wählen_en.png

3b

(Option 2:)

To create and use a new Wiki learning resource, click on Create. A page for creating a new learning resource will open.

Expand further steps ...
  • Enter a title for the new resource and add a description if necessary.
  • Click on Save.
  • As a next step, you can add an image to the resource using Upload.
  • Click on Finish to complete the creation process.

The newly created resource will now automatically be used as a resource for the wiki course element and displayed under Selected Wiki.

Ressource  - Wiki erstellen_en.png

3c

(Option 3:)

To import a new Wiki learning resource, click on Import. The system's default upload page will open.

Expand further steps ...

Select a location for the file you wish to import and upload the file.

  • The page for creating a new learning resource will open.
  • Enter a title for the imported resource and add a description if necessary.
  • Click on Save.
  • As a next step, you can add an image to the resource using Upload.
  • Click on Finish to complete the creation process.


Ressource  - Wiki importieren_en.png

4.

5.

The newly imported resource will now automatically be used as a resource for the wiki course element and displayed under Selected Wiki.  

Publish your course to complete the configuration and to make the resource available to participants.

Kurseditor - gewähltes Wiki_en.png

Functions after adding a wiki resource

Once a wiki resource has been added, you have the following options in the course editor ...

To detailed view

Use this button to switch to the detailed view of the added wiki resource. Among other things, you will find information on the supervisors and access rights in this area.

Kurseditor - Wiki Funktionen nach hinzufügen_en.png

Replace wiki

Click the button to replace the added wiki resource with another wiki resource. The same window will open as in the upper section Special configuration settings. Now you have the same three options as described above to add a new wiki resource.

Edit

Click this button to get an overview of all existing wiki entries. You can then create new entries, edit existing entries, and delete entries.

Using this button will still open the edit view of the old interface. All of these functions can also be used in the course view of the course element or in the individual resource view of the wiki resource.

In the course view

Information on the functions in the course view can be found here: Functions for users

As a course supervisor, you can assign extended rights for a course element's additional editing functions to individual or even all course users. These rights can be configured in the tab Access. Further information can be found in the section General configuration settings on this page.