Dateidiskussion
![]() Der Kursbaustein Dateidiskussion funktioniert ähnlich wie ein Kursbaustein Forum. Die Grundlage für den Austausch sind hier aber Dateien, die vom Tutor oder von den Lernenden hochgeladen werden können. Für jede Datei steht Ihnen ein eigenes Forum zur Verfügung.
Der Kursbaustein Dateidiskussion funktioniert ähnlich wie ein Kursbaustein Forum. Die Grundlage für den Austausch sind hier aber Dateien, die vom Tutor oder von den Lernenden hochgeladen werden können. Für jede Datei steht Ihnen ein eigenes Forum zur Verfügung.
Nutzung aus Lerner-Sicht
Überblick
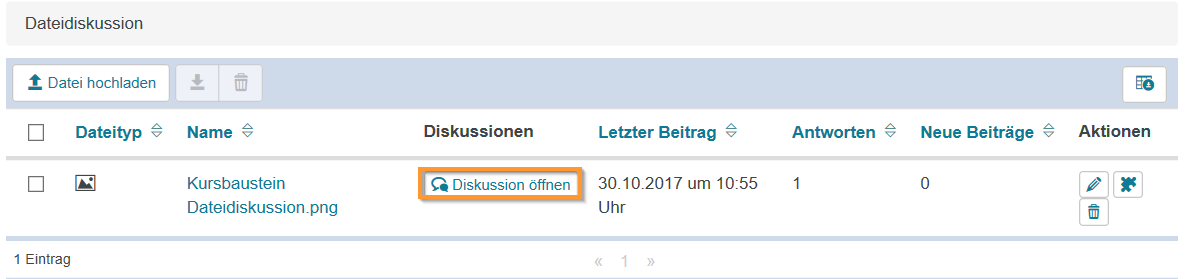
Im Kursbaustein Dateidiskussion befindet sich eine Übersicht, der bereits vorhandenen Dateien. Weitere Dateien können hochgeladen, bestehende Dateien bearbeitet und gelöscht werden. Jeder Datei ist ein Diskussionsforum zugeordnet. Dieses kann mit der Schaltfläche Diskussion öffnen gestartet werden. |
|
Verfügbare Funktionen für Nutzer
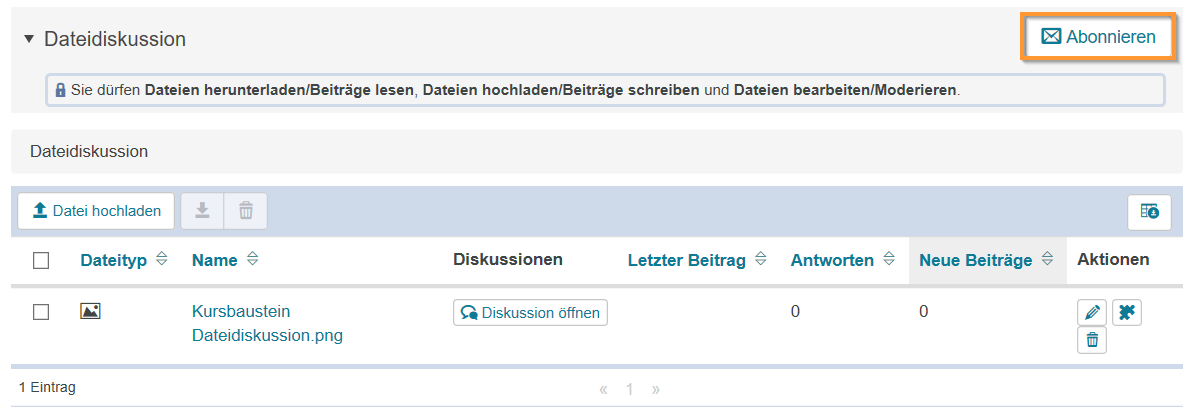
Dateidiskussion abonnieren | Sie können diesen Kursbaustein abonnieren, um über Änderungen automatisch informiert zu werden. "Wie geht das?"
Weitere Informationen zu den allgemeinen Konfigurationsmöglichkeiten zum Empfang dieser Benachrichtigungen enthält die Seite Abonnements und Benachrichtigungen.
|

Im Kursbaustein Dateidiskussion können Sie Funktionen für eine einzelne Datei verwenden oder auch Sammelfunktionen für mehrere Tabelleneinträge nutzen.
Allgemeine Tabellenfunktionen | Im Tabellenkopf sind folgende Sammelfunktionen verfügbar ...
Zu einem einzelnen Tabelleneintrag sind folgende Funktionen verfügbar ...
|
| |||||||||||||||||||||||||||||||||||||||||||||||||||||||||||||||||||||||||||||||||
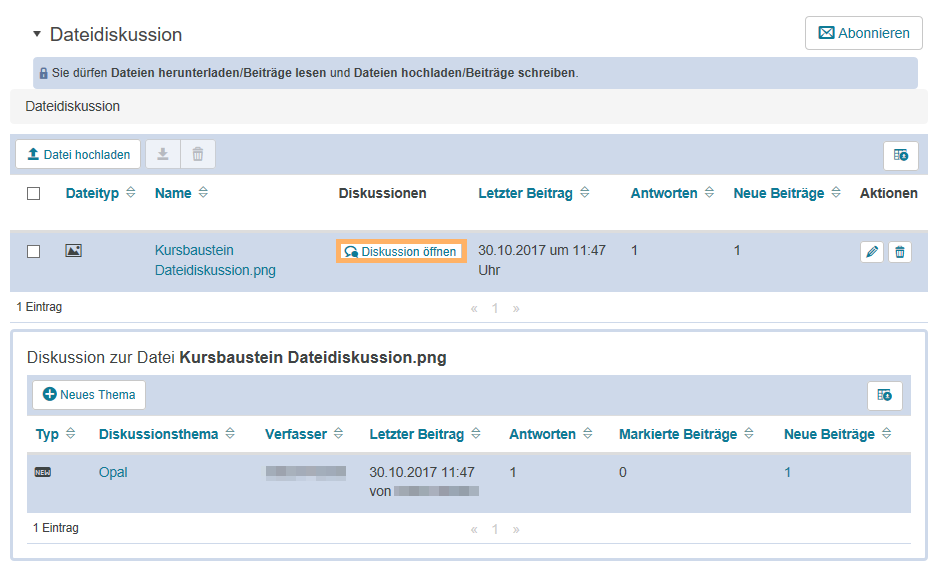
An Dateidiskussion teilnehmen | Zu jeder Datei wird ein Diskussionsforum angelegt. Dieses beinhaltet alle Funktionen eines Forums und ermöglicht den Austausch über die vorangestellte Datei. Diskussion zu einer Datei eröffnen ...Um ein Diskussionsforum zu öffnen, gehen Sie wie folgt vor:
Innerhalb des geöffneten Diskussionsforums können Sie alle üblichen Forenfunktionen nutzen. Funktionen im Forum ...Optionen in der ThemenübersichtIn der Themenübersichtstabelle sind diese Funktionen verfügbar:
Optionen zu einem geöffneten ThemaHaben Sie bereits ein Thema geöffnet sind je nach Berechtigung des Nutzers folgende Funktionen für ein Thema und die enthaltenen Beiträge verfügbar:
| ||||||||||||||||||||||||||||||||||||||||||||||||||||||||||||||||||||||||||||||||||


Nutzung aus Autoren-Sicht
Im Kurseditor
Im Kurseditor stehen Ihnen folgende Funktionen zur Verfügung:
Kursbaustein Dateidiskussion hinzufügen | Erläuterung zum Hinzufügen eines Kursbausteins aufklappen ...Um einen Kursbaustein in Ihren Kurs einzubinden, gehen Sie wie folgt vor:
| ||||||||||||||||||||||||||||||||||||||||||||||||||||||||||||||||||
Allgemeine Konfigurationseinstellungen | Im Kurseditor sehen Sie folgende Konfigurationstabs:
| ||||||||||||||||||||||||||||||||||||||||||||||||||||||||||||||||||
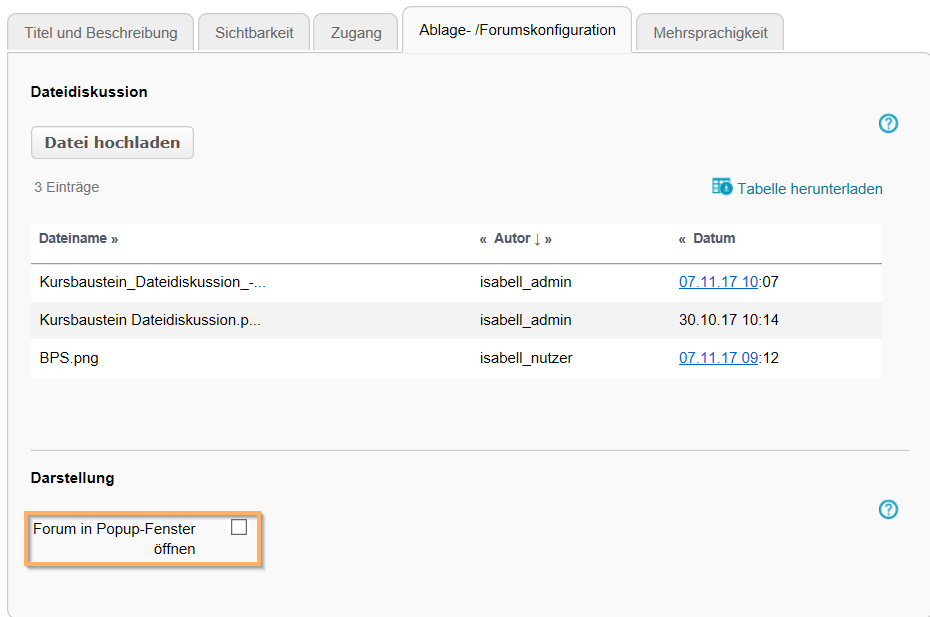
Spezielle Konfigurationseinstellungen | Im Tab Ablage-/Forumskonfiguration erhalten Sie eine tabellarische Übersicht über alle vorhandenen Dateien im Kursbaustein Dateidiskussion. Zusätzlich können Sie die Darstellung des Forums anpassen. Sie haben folgende Konfigurationsmöglichkeiten:
|


In der Kursansicht
In der Kursansicht einer Dateidiskussion stehen Ihnen alle für Nutzer verfügbaren Funktionen zur Verfügung. Zusätzlich haben Sie folgende Möglichkeiten:
Diskussionsforum moderieren |
Wenn SIe Moderationsrechte im Forum besitzen stehen Ihnen diese Funktionen zur Verfügung:
|

