Test
![]() The test course element allows for knowledge quizzes with different answer formats. The results are displayed to the author in the assessment tool and can be downloaded through the data archiving process.
The test course element allows for knowledge quizzes with different answer formats. The results are displayed to the author in the assessment tool and can be downloaded through the data archiving process.
The learning platform supports the ONYX test format. The ONYX Testsuite enables a convenient test creation and comes with a large range of functions.
Content
On this page
Subordinate pages
Related topics
Usage: Learners' View
Overview
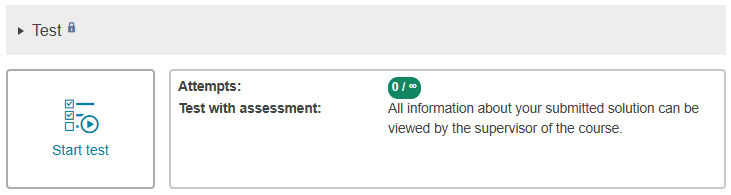
In the test course element, you can start and run a test configured by the course author. Afterwards, you can view your assessment and retry the test depending on the course author's settings. |
|
Functions for users
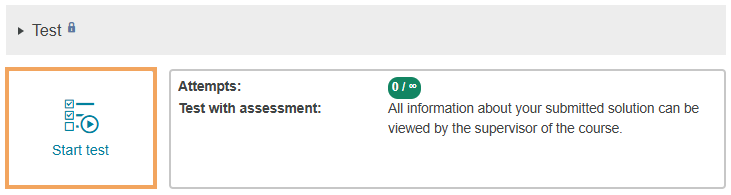
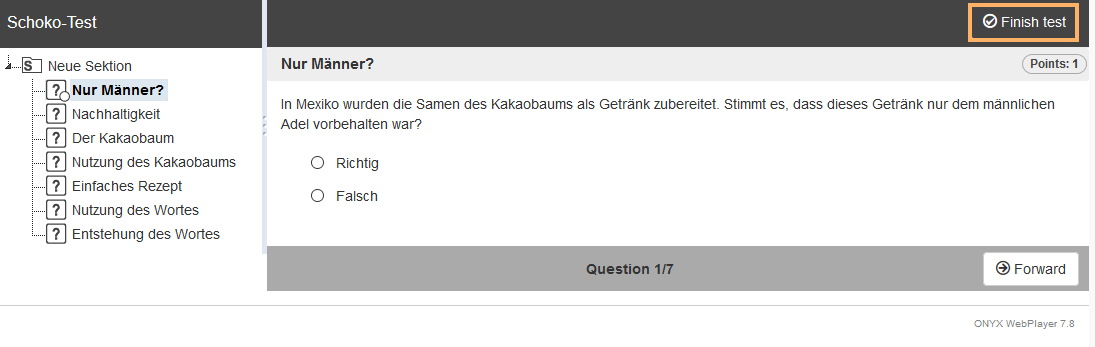
Start and finish test | In the test course element, you can answer test questions of different formats. Start a test attempt as follows:
What happens next?
| ||||||||||
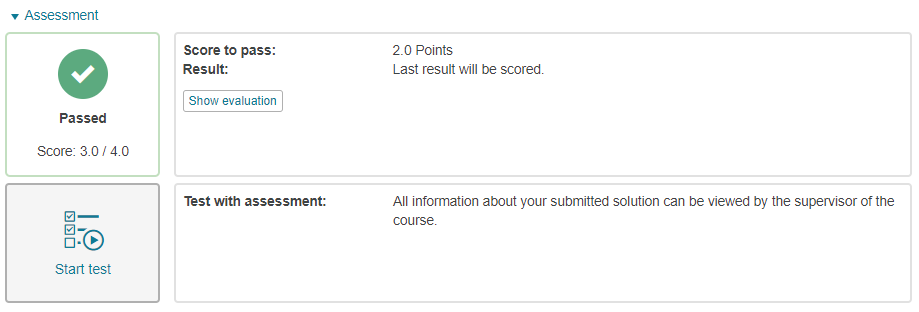
View assessment | Depending on the configuration of the course element, you can see assessment information on the test home page in the course after finishing the test. If the Show evaluation button (or in the case of an exam, the Exam summary button) is displayed, you can open one or all of your attempts and view all associated assessment data.
|


Configuration: Authors' View
In the course editor
The following functions are available to you in the course editor:
Add a test course element
Click to open instructions on how to add a course element ...
To integrate a course element into your course, proceed as follows:
1 | Open the course you want to edit. Use the pencil icon at the top of the page to open the editing mode. |
|
2 | Select a course element from the menu on the right. |
|
3 | In the new window, you can define the position of the new course element within your course structure (left navigation pane). The available positions are marked with an insert icon. To insert the new course element into an existing substructure, you need to open the substructure by clicking on the small triangle symbol next to its title. The area will open and you will again see insert icons at the positions which are available. Click on the insert icon at the desired position within the structure. The selected area will be highlighted. Confirm your choice with Insert course element. |
|
4 | The element will be inserted into the course structure at the selected position. Depending on the course element, you have to make additional configurations or add content in order to complete the configuration. For these changes to take effect, you must publish the course. The course element will then also become available in the course view. |
|


Perform general configuration settings
In the course editor, you can see the following configuration tabs for this course element type:
Title and description | Configuration options in the Title and description tab ...
| ||||||||||||||
|---|---|---|---|---|---|---|---|---|---|---|---|---|---|---|---|
Visibility | Restrict here the course element's visibility if necessary. See the Visibility help page for more information. | ||||||||||||||
Access | Restrict here the course element's access if necessary. See the Access help page for more information. | ||||||||||||||
Test configuration | In this tab, you can store a test resource and specify settings for the test procedure. Detailed instructions are given on the Test-Konfiguration help page. | ||||||||||||||
Assessment | Here you can configure various settings for the test assessment. All options are explained in detail under Course elements>Test>Assessment configuration. | ||||||||||||||
Multilingualism | Different translations can be added to individual course element areas on this tab. |

Publish your course to complete the configuration and make the resource available to learners.
In the course view
Author functions in the course view
The course view gives you access to all functions available to users for this course element, plus the following additional editing options:
If you activate the test in the exam mode with the exam control, you will see the exam control area below the test, which allows you to monitor and coordinate the course participants' test progress. For more information, see the Exam mode help page. | |
A cancelled test attempt can be continued under certain conditions based on the stored intermediate results. The Continue a cancelled test attempt help page describes the general conditions and procedure. |